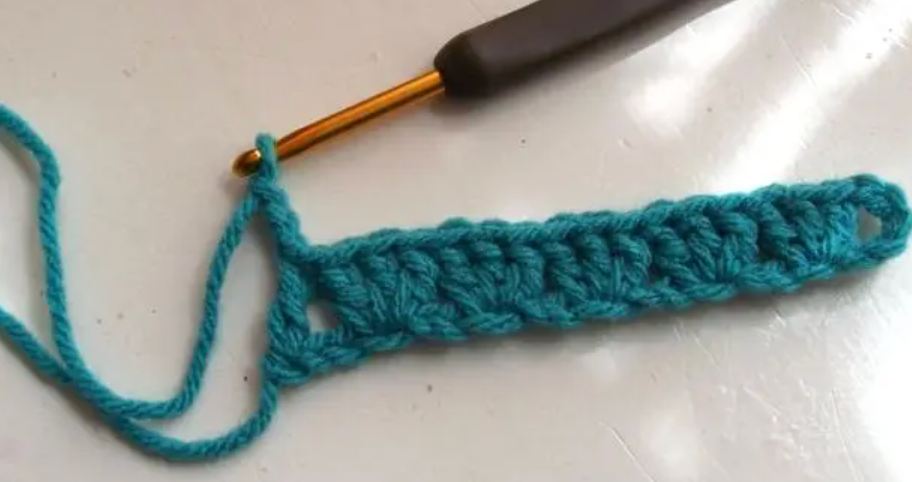
3dc in each space between…
In the next end; in ch 5 space 3dc, ch 3, 3dc, ch 3, 3dc to make the corners on the other side.
Now, cross over to the other side, making 3dc in each space between…
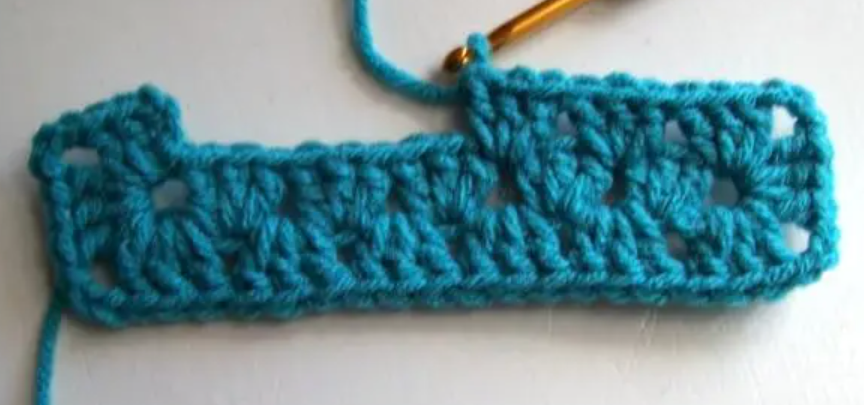
Sl st into top of starting ch3 and there you have it!
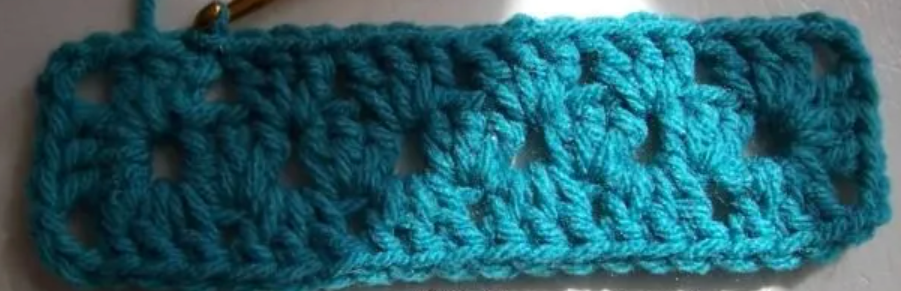
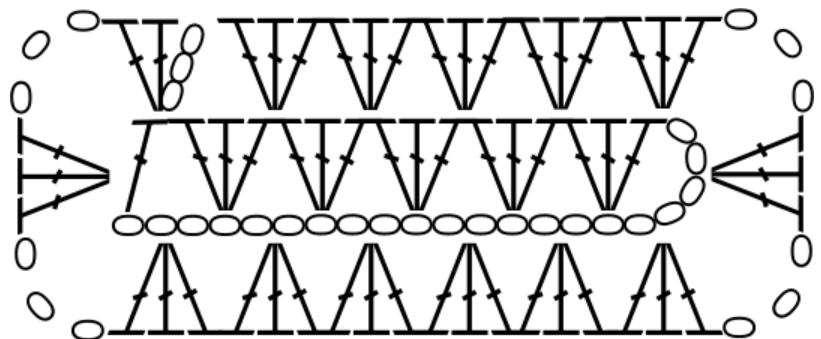
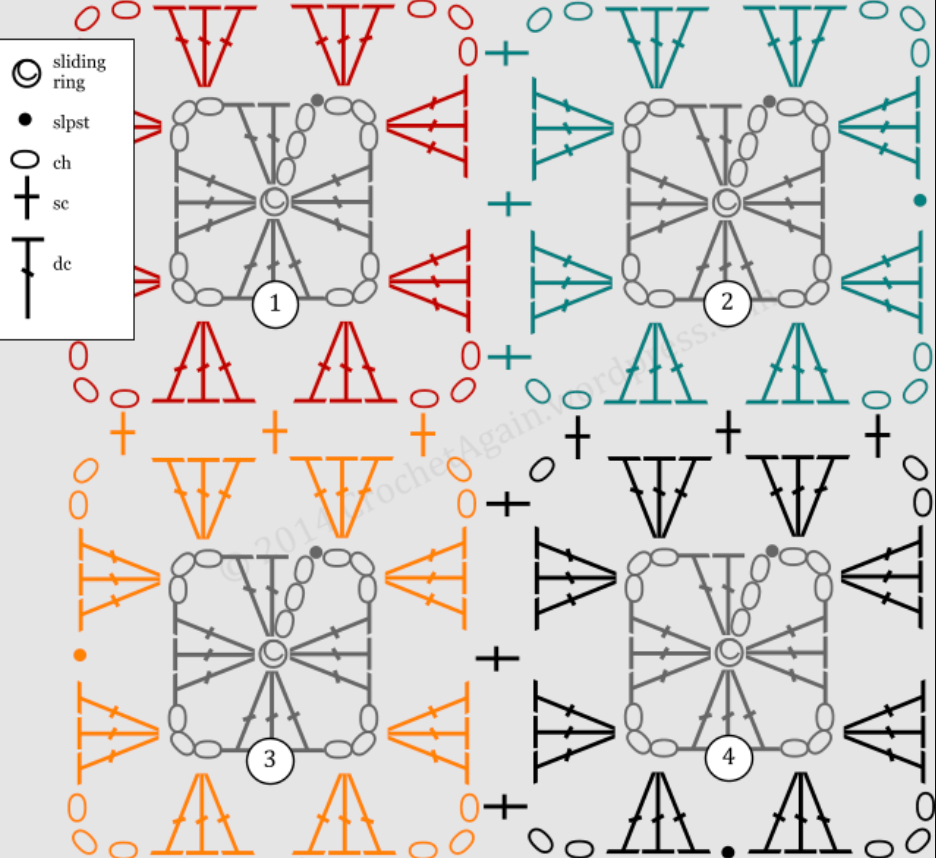
Diagram:
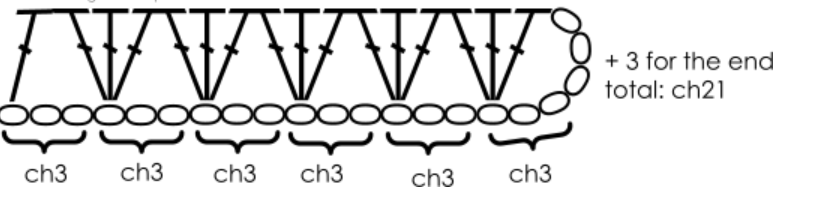
and another, to help with the repetition calculations in case you want a different size…
Connecting motifs
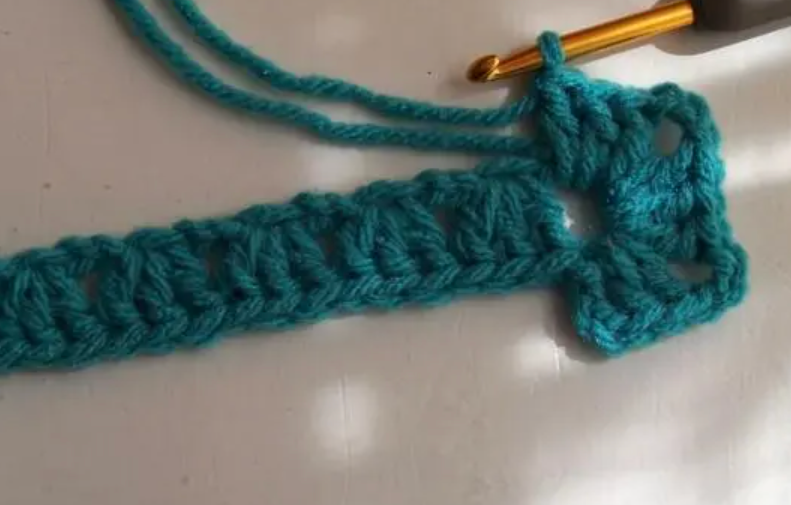
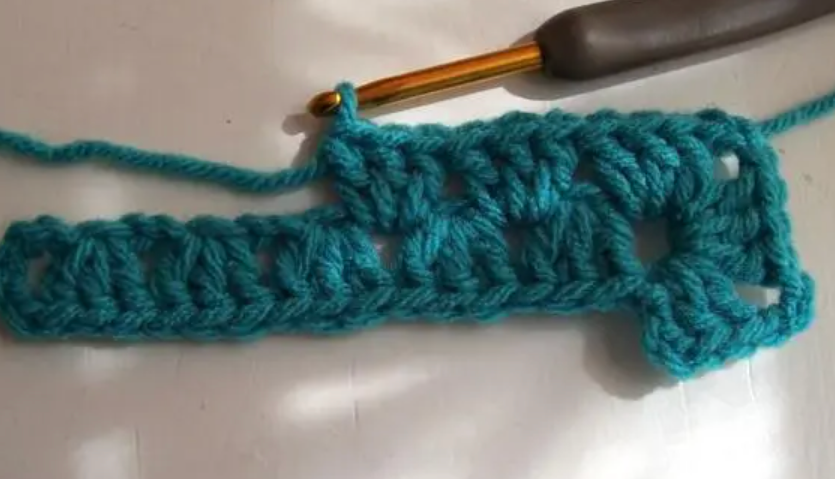
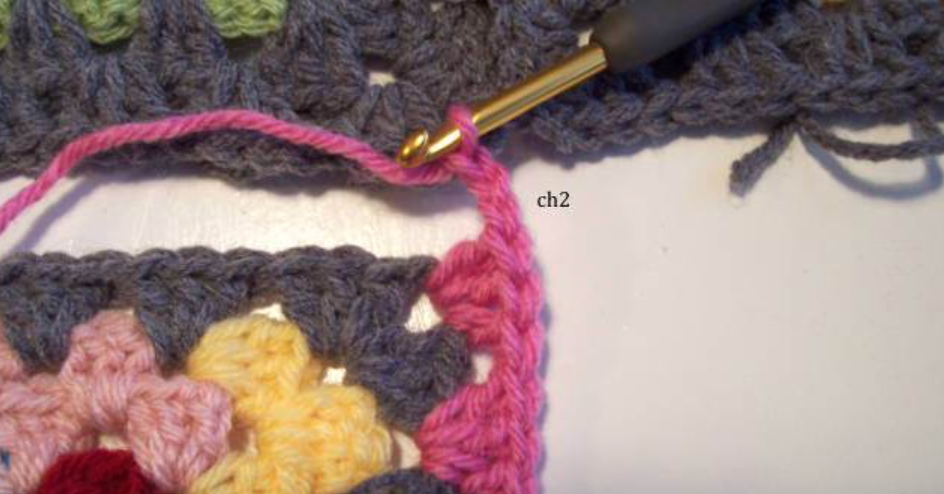
I start the join in the corner, so make your last round to the corner ch3, 3dc in the ch3 space as usual and then ch2 (I usually do ch3 for each corner, this is one less ch, my attachment point will count as the 3rd).
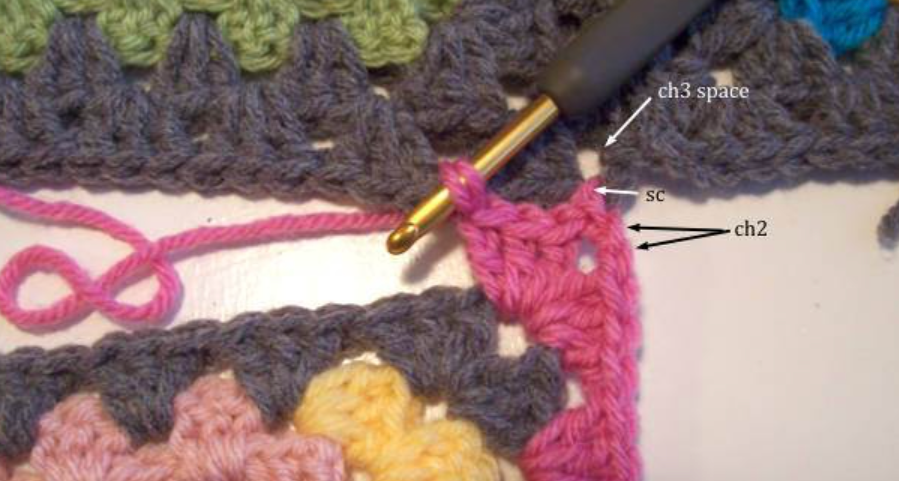
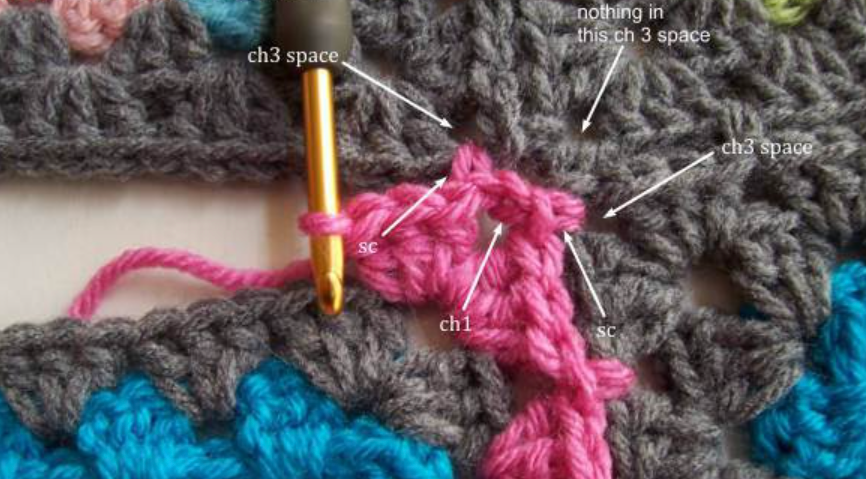
Now you’re going to sc in the ch3 corner space of the square you’re joining to. Make sure you have the wrong sides together (in other words, the right sides are out and the wrong sides are in). After you’ve secured the other square with the sc, continue making 3dc in the corner of the square where you’re making the border.
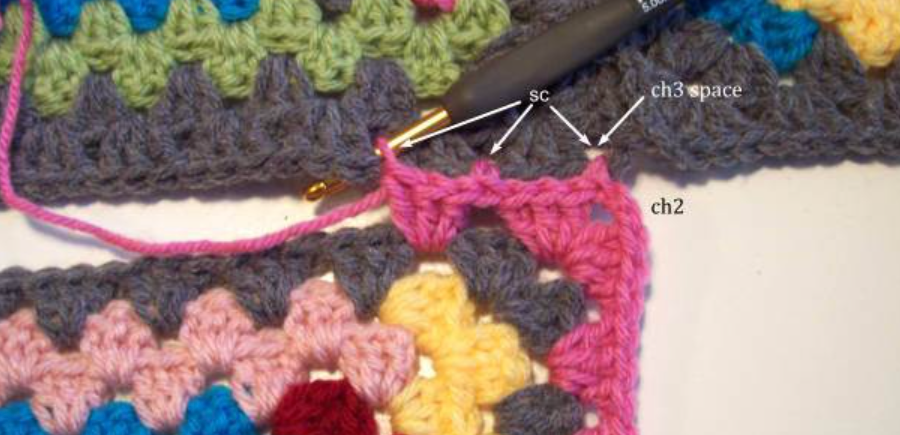
When the corner is finished, sc between the next group of 3dc in the square you are joining to.
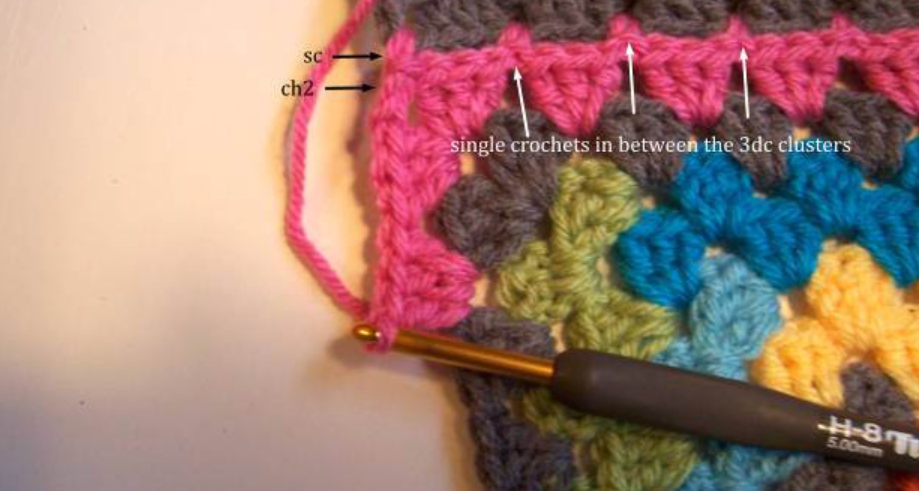
The 3dc clusters will line up against each other, with the single crochet stitches in between the clusters. Continue along the edge, crocheting the final round and attaching to the other square with a sc after each 3dc cluster. Watch carefully, it’s easy to skip one as you go.
When you get to the other corner, you’ll do it a little differently than you did in the first corner. This time you’ll crochet the attached sc and then ch2.

Finish the corner with the remaining 3dc and continue finishing the final round of your square as usual….
Attach more squares in a row in the same way, then attach the first square of the second row. You will now see that the squares will need to be attached on both sides. Attach the first side as above. The corner where all the squares meet will be done a little differently.
Access 30 more free patterns here
When you get to the corner where all the squares meet, work 3dc in the corner as usual, then sc in the 3 ch corner space of the square you are attaching to (no ch first). Chapter 1. Sc in the square you will attach to next.
The diagonal square, the one that is already attached to two other squares, you can simply ignore, you won’t do anything with it.
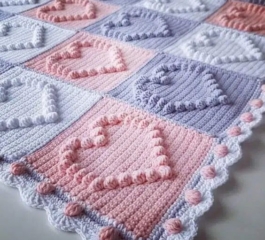
The next picture shows what it looks like when it’s in grey, if you look closely you can see where the sc’s are and the nice central meeting point. I like to use sc instead of slpst, my slpst tend to be a little tighter, the sc seems to work better for me.

I always find diagrams useful…
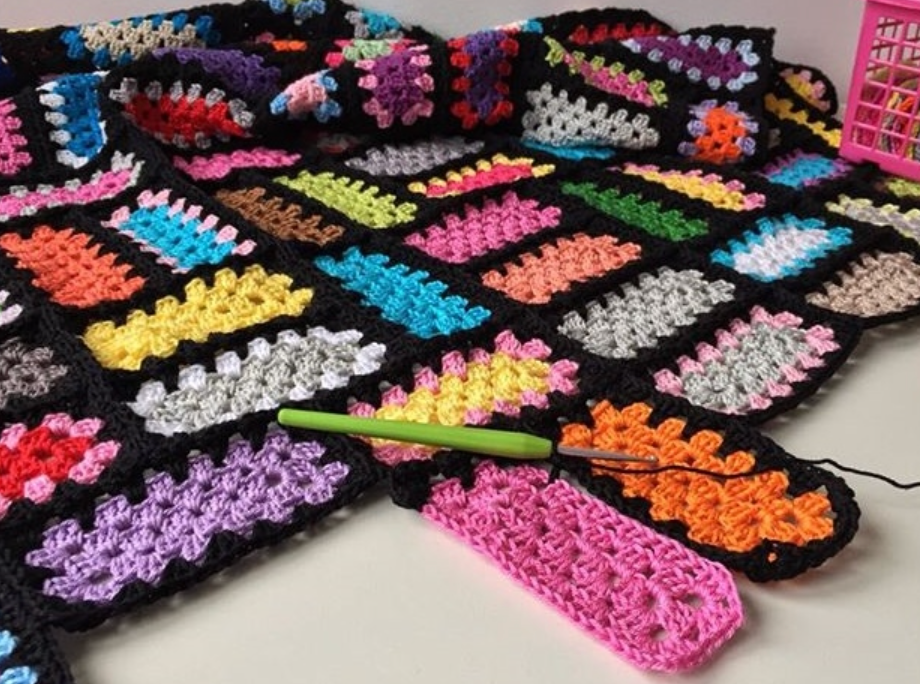
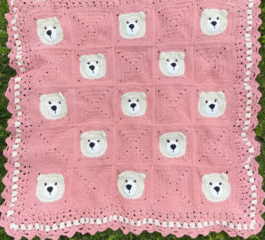
Granny’s rectangular blanket is a delightful project that combines the simplicity of the granny stitch with the practicality of a rectangular shape. Whether you’re a beginner or an experienced crocheter, this pattern is a relaxing and rewarding way to create something both beautiful and functional. Enjoy the process of making your very own Granny’s rectangular blanket, and watch as it becomes a cherished item in your home.