Step 6: Create Stoppers Craft stoppers for each end of the hourglass using wood or cork. These stoppers will keep the sand inside while allowing it to flow freely when the hourglass is turned. Paint or decorate the stoppers to complement the overall design.
Step 7: Secure the Stoppers Apply a small amount of adhesive to the bottom of each stopper and carefully place them on each end of the hourglass block. Ensure they are centered and secure. Allow the adhesive to dry completely before handling the hourglass.
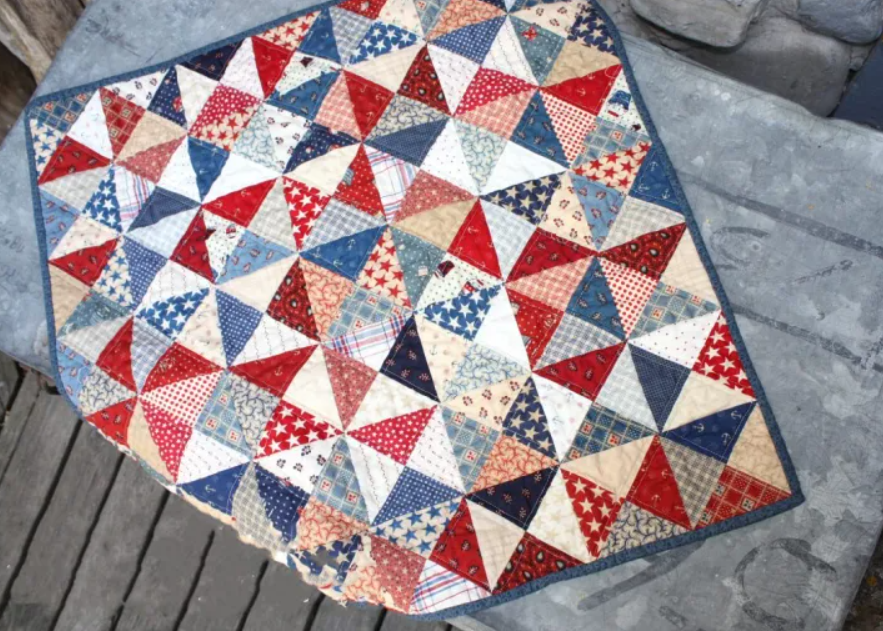
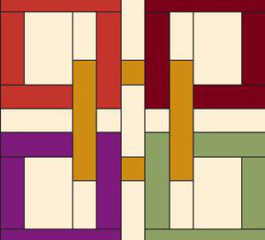
Hourglass Block
With this DIY Hourglass Block tutorial, you’ve transformed ordinary glass blocks into a functional and visually appealing timepiece.
Whether used as a decorative item or a practical tool for time management, your handmade hourglass block is sure to be a unique addition to your home or a thoughtful gift for someone special. Enjoy the process of crafting time itself!
The complete pattern is available at tarareed.com. You can access the pattern with all the details here below:
Access the Tutorial/ HOUR GLASS BLOCK TUTORIAL
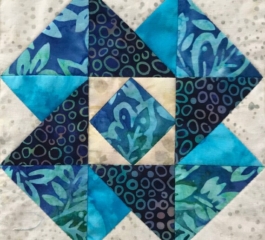
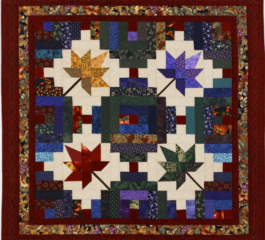
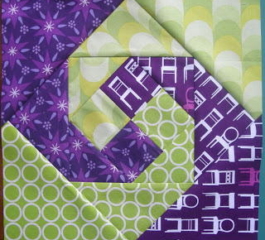
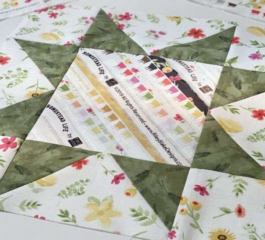
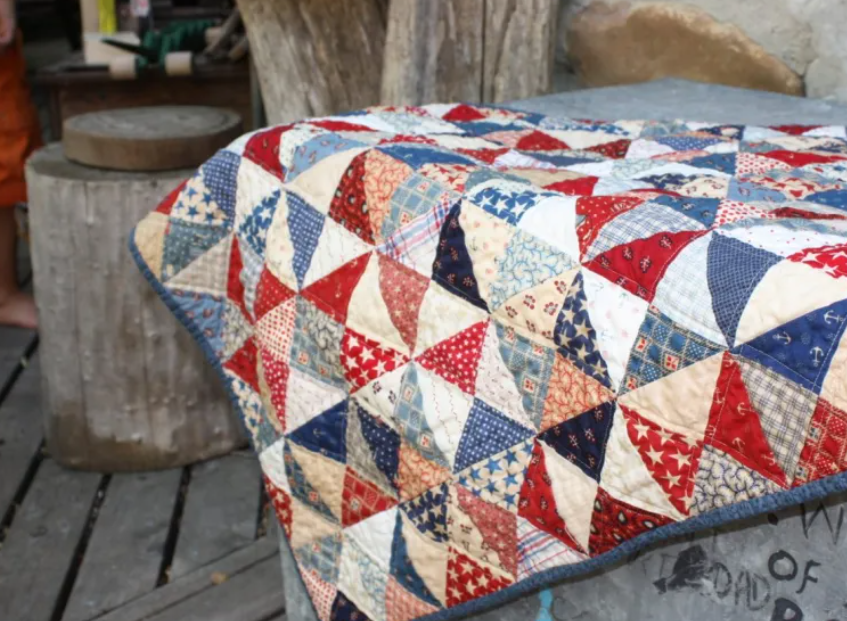
Suggested Other Patterns:
Explore our handpicked selection below and discover a world of possibilities for your next crafting adventure. Visit the links to find more perfect pattern ideas that suit your style and project requirements:
The My Crafts Ideas team would like to thank everyone for following us and we wish you all lots of love and affection. We found it in the next pattern, see you later!