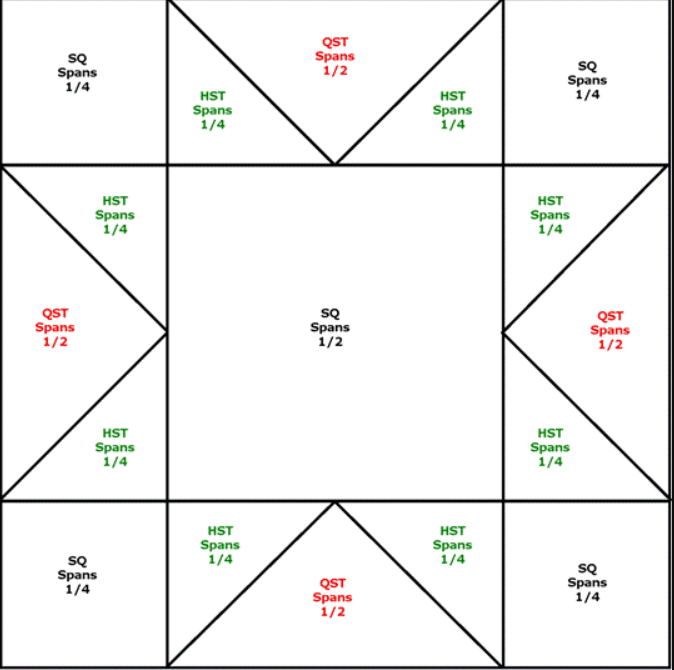
The Sawtooth Star is one of the most beloved and enduring patterns in the quilting world. Its simple yet striking design makes it a versatile choice for both beginners and experienced quilters. In this article, we will explore the history of the Sawtooth Star, provide step-by-step instructions for creating your own block, and share some inspiring variations to spark your creativity.
The Sawtooth Star, also known as the Variable Star or North Star, dates back to the early 1800s. This pattern was popular among pioneer quilters, who valued its straightforward construction and the ability to use scraps of fabric efficiently.
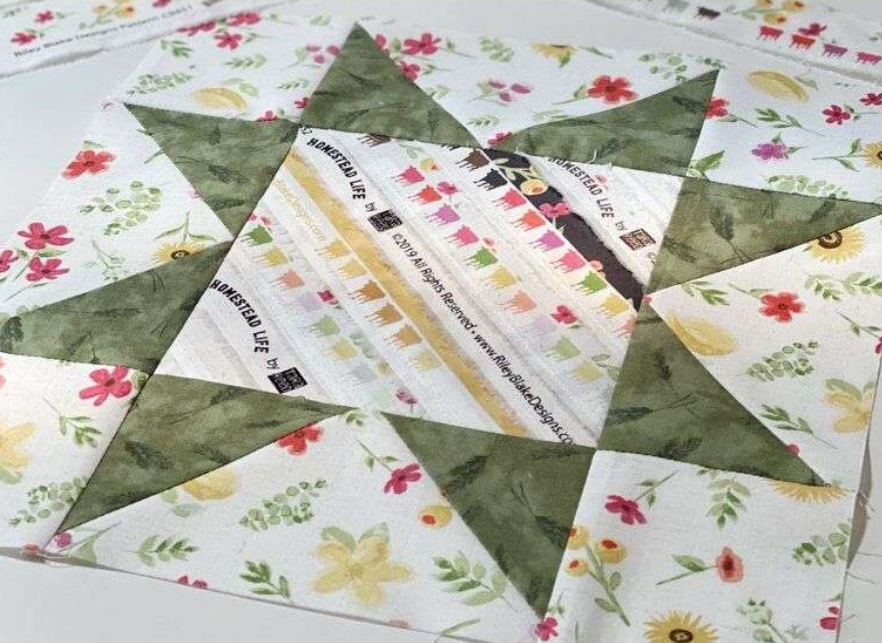
Over time, the Sawtooth Star has remained a staple in the quilting community, admired for its timeless elegance and adaptability.
Variations on the Sawtooth Star
One of the joys of quilting is the endless possibilities for customization. Here are a few ideas to make your Sawtooth Star uniquely yours:
Play with Color: Experiment with different color schemes to create a dynamic effect. Try using a gradient of colors or a scrappy look with assorted fabrics.
Add Borders: Frame your block with additional borders to create a larger, more complex design.
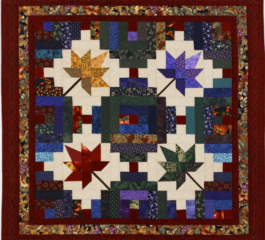
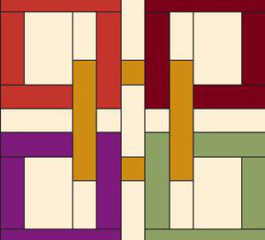
Combine Blocks: Mix the Sawtooth Star with other traditional blocks, such as the Nine-Patch or Log Cabin, to create an intricate quilt top.
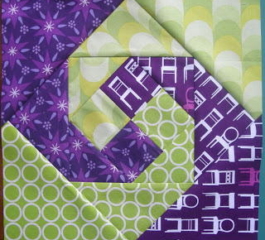
Use Print Fabrics: Incorporate printed fabrics for added texture and interest.
Tips for Success
Precision is Key: Take your time with cutting and piecing to ensure your points align perfectly.
Pressing Matters: Press your seams as you go to keep your block flat and manageable.
Chain Piecing: If you’re making multiple blocks, use chain piecing to save time and thread.
The Sawtooth Star block is a versatile and timeless addition to any quilter’s repertoire. Whether you’re a novice looking for a manageable project or an experienced quilter seeking a classic pattern, the Sawtooth Star offers endless opportunities for creativity. Happy quilting!
FREE PATTERN HERE!
Feel free to share your own Sawtooth Star creations with us in the comments below. For more quilting tips and tutorials, subscribe to our blog and join our quilting community!