After you finish this row, you should see the start of a lovely petal-like structure forming.
4. Change Color
This is where the design really starts to pop! Select a contrasting color for the next rows to highlight the layered effect.
5. Third Row
This row will mirror the second row, but with more clusters and slip stitches to expand the square.
Attach your new color with a slip stitch.
Chain 4 (4 ch).
Work 2 treble double crochets (2 trdc) in the same stitch.
Chain 4 (4 ch).
Slip stitch into the next space.
Chain 4 (4 ch).
Work 2 treble double crochets (2 trdc) in the next space.
Slip stitch in the next stitch to join.
Repeat this pattern for the entire row, working around the square. This repetition will add an intricate border and shape to your square.
6. Repeat the Third Row for Additional Rounds
To make the square larger, simply repeat the instructions for the third row, continuing to add rows in the new color (or switch colors as desired). Each row will build on the previous structure, creating a beautiful layered effect.

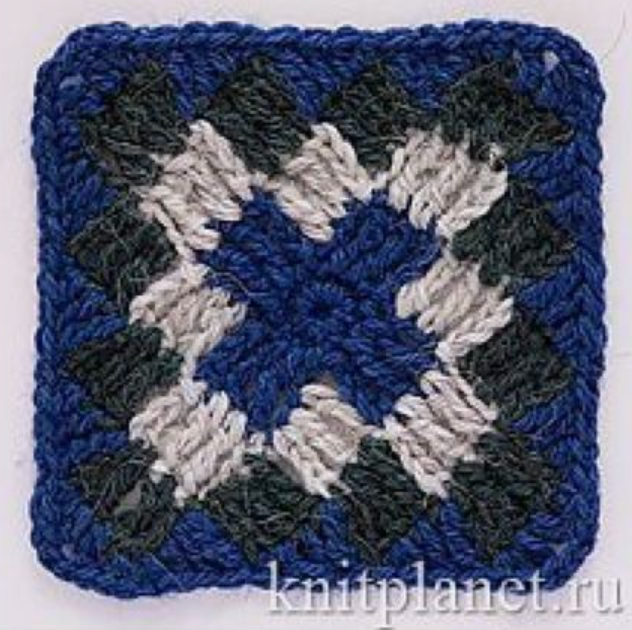
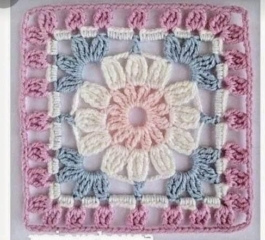
Diagram
Final Tips
Changing Colors: To make the color transitions smooth, always complete the last stitch of the row with the new color.
FREE CROCHET SQUARE
Blocking: Consider blocking your square after completing it. This will help set the shape and give it a polished look.
With this Wonderful Crochet Square pattern, the possibilities are endless! Enjoy the creative process, and feel free to experiment with different color combinations. Happy crocheting!