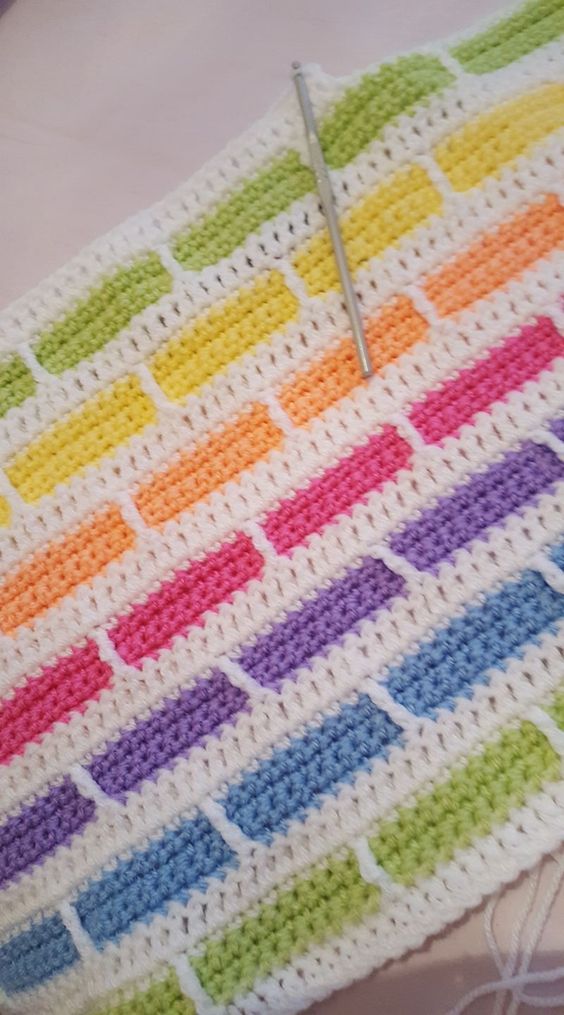
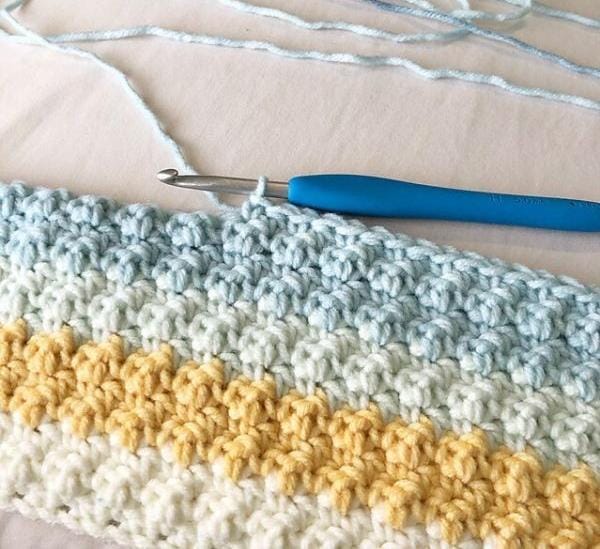
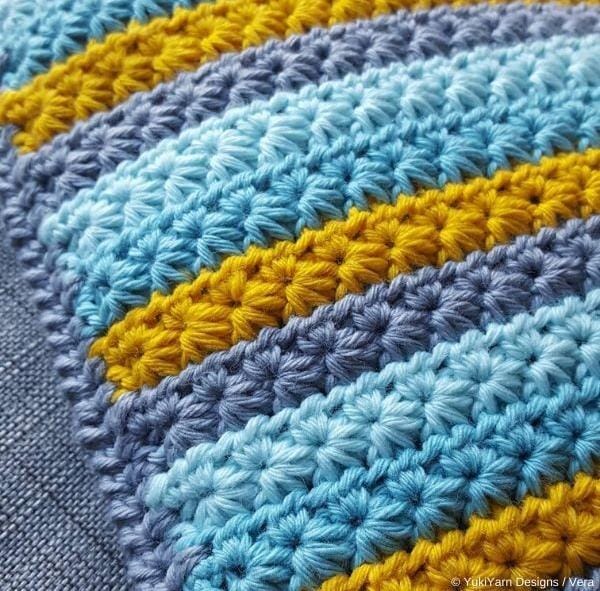
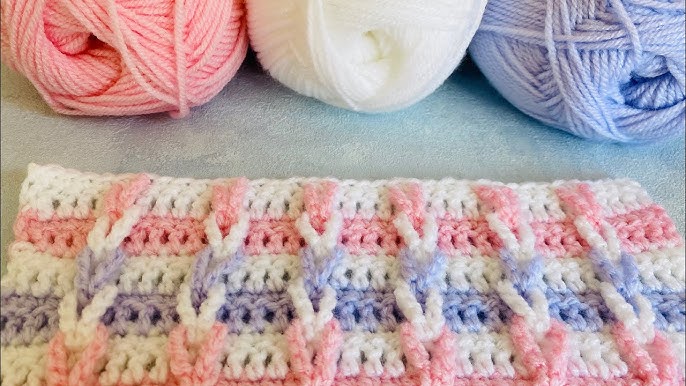
The Brick Stitch Pattern is a versatile and eye-catching technique that adds texture and depth to any crochet project. Resembling the staggered layout of bricks in a wall, this stitch creates a geometric effect that’s perfect for a variety of items, from cozy blankets and throws to decorative pillow covers and scarves.
The Brick Stitch Pattern is a beautiful and textured crochet technique that mimics the look of brickwork, making it a visually appealing choice for blankets, scarves, and other projects. In this guide, we will go over the steps needed to create this pattern, using a sample swatch to help you master it.
What makes the Brick Stitch so appealing is its ability to combine simple stitches with bold color changes, resulting in a sophisticated yet easy-to-achieve design. Whether you’re looking to create a modern home décor piece or a stylish accessory, the Brick Stitch Pattern is a fantastic choice for crocheters of all levels.

Important Note: Always use the recommended hook size indicated on your yarn label for best results when working any stitch pattern.
Materials:
Yarn of your choice
Crochet hook recommended for your yarn
Scissors
Tapestry needle for weaving in ends
Instructions:
Foundation Chain:
Begin by chaining a multiple of 8 stitches.
Sample Swatch: To practice, start with a foundation chain of 32 stitches.
Row 1: Single crochet (sc) in the 2nd chain from the hook and in each chain across. Turn your work.
Rows 2 & 3: Chain 1, single crochet in both loops of each single crochet across. Turn.
At the end of Row 3, fasten off.
Row 4: Join a new color in the front loop only of the first single crochet. Chain 1, single crochet in the front loop only of each single crochet across. Turn.
Rows 5 & 6: Chain 1, single crochet in both loops of each single crochet across. Turn.
At the end of Row 6, fasten off.
Row 7: Join a new color in the first single crochet. Chain 1, single crochet in both loops of each of the first 3 single crochets.
Treble crochet (tr) into the front loop of the next corresponding single crochet from 4 rows below (Row 3), pulling the treble crochet up to the current level of your work. Single crochet in both loops of the next 7 single crochets from Row 6.
Repeat from * to * across until you are within the last 4 single crochets. Treble crochet in the front loop of the next corresponding single crochet 4 rows below (Row 3), pulling the treble crochet up to the current level of your work. Single crochet in both loops of each of the last 3 single crochets. Turn.
Row 8: Chain 1, single crochet in both loops of each single crochet and each treble crochet across. Turn.
Row 9: Chain 1, single crochet in both loops of each single crochet across. Turn. Fasten off.
Rows 10 – 12: Repeat Rows 4-6. Turn.
Row 13: Join a new color in the first single crochet. Chain 1, single crochet in both loops of each of the first 7 single crochets.
Treble crochet in the front loop of the next corresponding single crochet from 4 rows below (Row 9), pulling the treble crochet up to the current level of your work. Single crochet in both loops of each of the next 7 single crochets. Repeat from * to * across. Turn.
Row 14: Repeat Row 8.
Row 15: Repeat Row 9.
Repeating the Pattern: Repeat Rows 4 through 15 for the pattern, changing colors as desired to create the brick effect.
Access over 30 free patterns here
Tips for Success:
Tension Control: Keep your stitches even, especially when working the treble crochets, to ensure the “bricks” align properly.
Color Changes: The Brick Stitch looks most effective when using contrasting colors. Feel free to experiment with different color combinations to create a unique and vibrant look.
Project Ideas: This pattern works well for blankets, afghans, pillow covers, or even as a decorative border on larger projects.
Mastering the Brick Stitch will add a new dimension to your crochet repertoire, allowing you to create stunning projects with a textured, geometric appeal. Happy crocheting!


