Strawberry Lace Scarf – Complete Written Pattern + Diagram
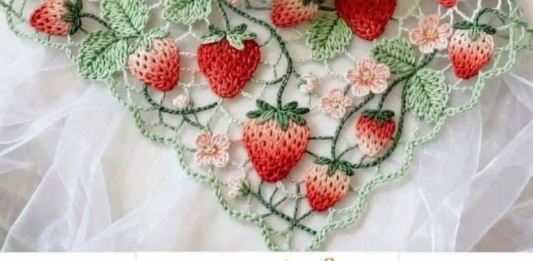
Crochet pieces inspired by nature always carry a touch of magic, and this Strawberry Lace Scarf is one of the most charming designs you’ll ever make. With vibrant strawberries, delicate leaves, soft flowers, and an airy mesh background, this scarf brings together texture, color, and elegance in a truly unique accessory. Perfect for spring and […]
Crochet Santa Face Pattern
Get into the holiday spirit with this adorable Crochet Santa Face pattern! This festive design is perfect for Christmas ornaments, gift toppers, garlands, or even as a brooch to wear during the holidays. With just a few colors of yarn and some simple stitches, you can create a jolly Santa face complete with a fluffy […]
Yorkshire Terrier Crochet Pattern
If you love adorable handmade pets, this Yorkshire Terrier Crochet Pattern is the perfect project to bring a little cuteness into your craft collection! This tiny amigurumi dog is full of personality — with its silky fur, tiny paws, and signature bow on the head, it captures the charm of the real Yorkshire Terrier perfectly. […]
Flea Market Flowers Quilt Pattern
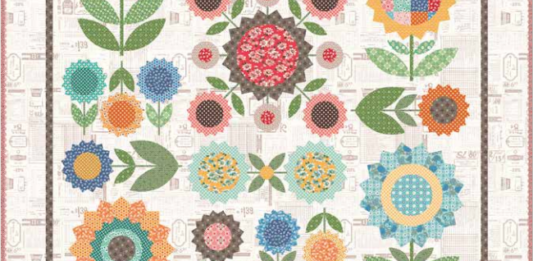
There’s something magical about quilts that bring together the charm of the past with a fresh, modern twist. The Flea Market Flowers Quilt Pattern captures that essence perfectly. Inspired by vintage floral designs often seen in flea markets and antique shops, this quilt celebrates bold colors, blooming flowers, and the timeless beauty of patchwork. Whether […]
Teddy Bear Blanket Crochet Pattern
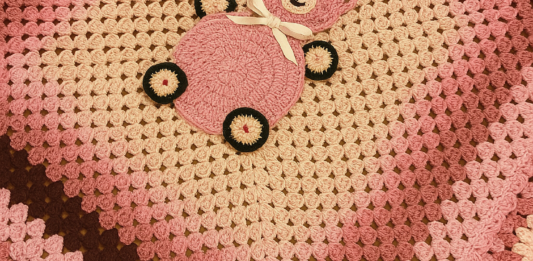
There’s something truly heartwarming about a handmade blanket, especially when it features a cuddly teddy bear motif. Perfect for nurseries, baby showers, or as a keepsake for children, this Teddy Bear Blanket Crochet Pattern combines the classic granny square style with an adorable teddy appliqué at the center. It’s a project that’s both comforting and […]
Bear Blanket Crochet – Free Pattern
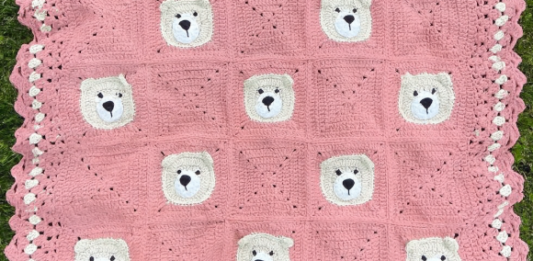
If you’re looking for a blanket that’s as adorable as it is cozy, the Bear Blanket Crochet Pattern is the perfect project. Featuring sweet bear face squares combined with classic solid squares, this blanket is sure to become a treasured keepsake for little ones. It makes a wonderful baby shower gift, nursery accessory, or even […]
Crochet Lips Appliqué – Written Pattern
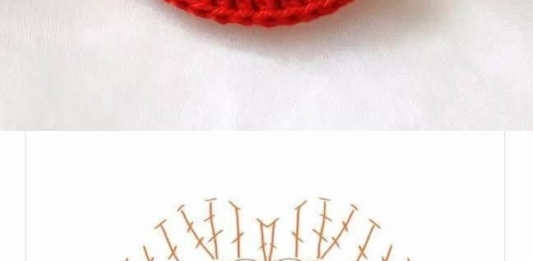
Crochet appliqués are a wonderful way to add a personal and playful touch to your projects, and this Crochet Lips Appliqué is both fun and stylish. Whether you’re looking for a Valentine’s Day motif, a quirky patch to sew onto a bag or jacket, or simply a decorative detail for your handmade gifts, these lips […]
Braids Crochet Scarf Cowl Pattern
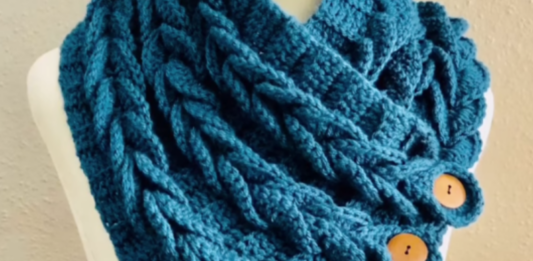
Crochet is all about creativity, texture, and style and this Braids Crochet Scarf Cowl combines all three into a project that is as fun to make as it is to wear. With its unique braid-like loops, this scarf works up beautifully and makes a cozy yet stylish accessory for any wardrobe. Whether you’re new to […]
Beautiful Crochet Hat – Free Pattern
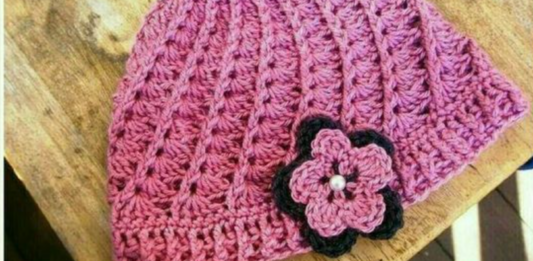
Crocheted hats are always a favorite project for both beginners and experienced makers. They work up quickly, make wonderful gifts, and allow you to play with texture and color in a stylish way. Today, we’re sharing a Beautiful Crochet Hat pattern that combines front post and back post stitches to create a cozy, textured design. […]
Sleeping Cat Appliqué – Free Crochet Pattern
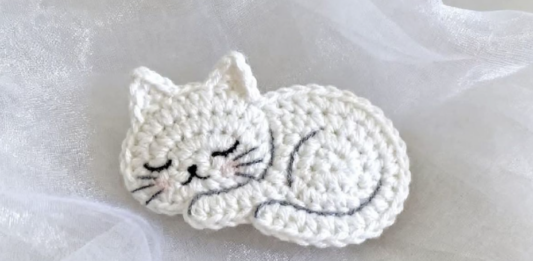
Crochet appliqués are a wonderful way to add charm and personality to your handmade projects. Whether you’re decorating a blanket, a bag, or even a cozy sweater, small details like this can completely transform your work. Today, I’m sharing a sweet and easy Sleeping Cat Appliqué crochet pattern that is perfect for all cat lovers. […]
