Body – Yellow and White:
Rnd 1: 6 sc into magic ring (6)
Rnd 2: Inc * 6 (12)
Rnd 3: (sc, inc) * 6 (18)
Rnd 4: (2 sc, inc) * 6 (24)
Rnd 5: (11 sc, inc) * 2 (26)
Rnd 6-11: 26 sc; change color to white (26)
Rnd 12: sc 7, (sc, inc) * 6, sc 7 (32)
Rnd 13: 32 sc (32)
Rnd 14: sc 7, (2 sc, inc) * 6, sc 7 (38)
Rnd 15-21: 38 sc (38)
Rnd 22: sc 7, (4 sc, dec) * 4, sc 7 (34)
Rnd 23-24: 34 sc (34)
Rnd 25: sc 13, dec, sc 4, dec, sc 13 (32)
Rnd 26: 32 sc (32)
Rnd 27: sc 7, (1 sc, dec) * 6, sc 7 (26)
Rnd 28: 26 sc (26)
Rnd 29: sc 7, (2 sc, dec) * 3, sc 7 (23)
Rnd 30: 23 sc (23)
Rnd 31: sc, (3 sc, dec) * 4, sc 2 (19)
Rnd 32: sc, inc, sc, (1 sc, dec) * 5, sc (15)
Rnd 33: sc, inc, (2 sc, dec) * 3 (13)
Rnd 34: sc 2, inc, sc 5, dec, sc 3 (13)
Rnd 35-40: 13 sc (13)
Rnd 41: sc 8, dec, sc 3 (12)
Rnd 42-50: 12 sc (12)
Rnd 51: sc 9, dec, sc (11)
Rnd 52-56: 11 sc (11)
Rnd 57: sc 9, dec (10)
Rnd 58-60: 10 sc (10)
After Round 60, knit two pieces together as follows:
Rnd 61: 5 sc, turn (5 sc)
Rnd 62: 3 sc, sl-st (slip stitch)
Wings (Make 2 Pieces):
Right Wing: Rnd 1: 6 sc into magic ring (6)
Rnd 2: 6 inc (12)
Rnd 3: (1 sc, inc) * 6 (18)
Rnd 4: (2 sc, inc) * 6 (24)
Rnd 5: (3 sc, inc) * 6 (30)
Rnd 6-7: 30 sc (30)
Rnd 8: ch, sc 8, 3 hdc, 2 dc, inc dc, dc, dc, 3 ch, sl-st
Left Wing:
Follow the same steps as the right wing.
Cheeks (Orange – Make 2 Pieces):
Rnd 1: 6 sc into magic ring (6)
Rnd 2: 6 inc (12)
Rnd 3: (1 sc, inc) * 6 (18)
Note: For a fluffier texture, split your yarn to create smaller stitches for the cheeks.
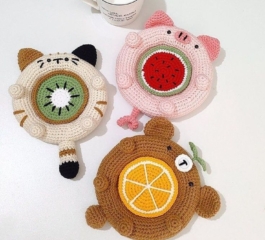
Access 20+ free crochet patterns here
Final Assembly:
Once you have all your pieces (body, wings, and cheeks), sew them together.
Attach the wings on each side of the parrot’s body.
Sew the orange cheeks onto the face.
Embroider details like eyes and beak to complete the look.
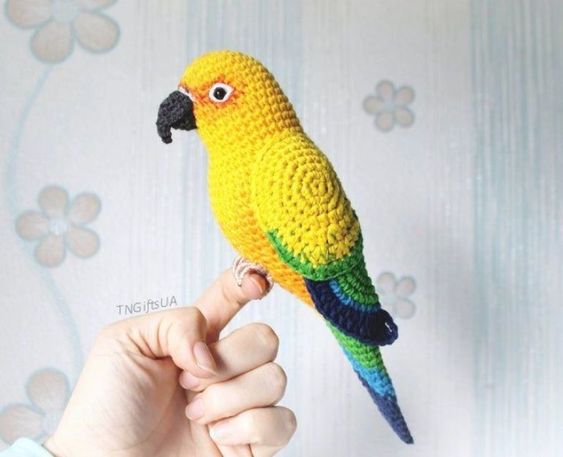
Amigurumi Parrot Free Pattern
Your adorable amigurumi parrot is now ready! This project is a delightful challenge, and you can always experiment with colors to give your parrot a unique look. Happy Crocheting!
Feel free to share your completed projects with us! We’d love to see your Amigurumi Parrot creations!