Round 2
Row 3:
CH3, (DC in CH space, DC in next DC) to corner CH3. [(DC, CH3, DC) in the corner SP. DC in next DC and in each CH SP across to the corner CH3.] Repeat around. SS at the top of the beginning CH3

Round 3
Row 4:
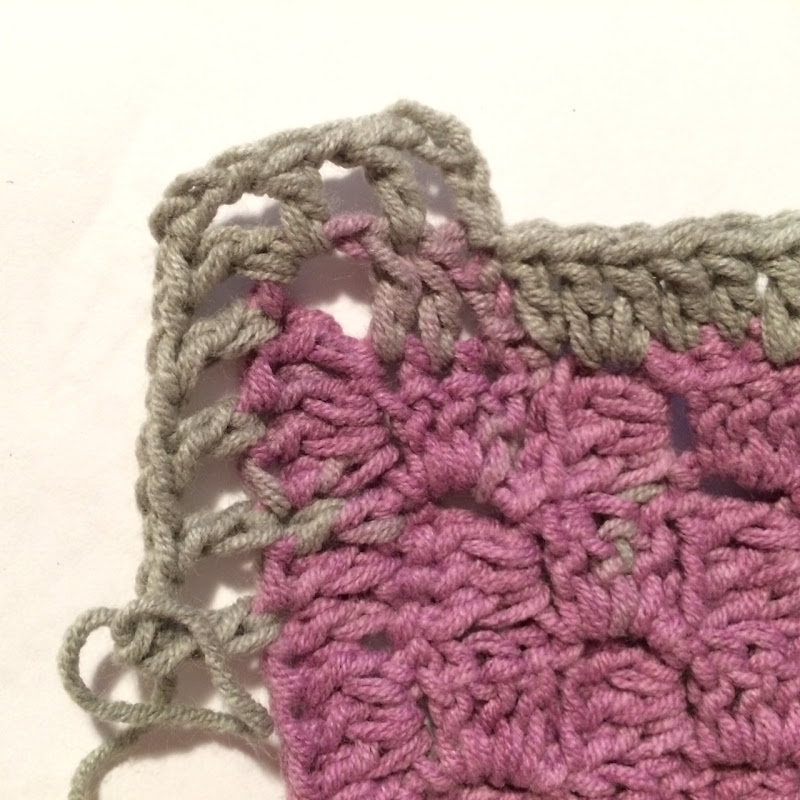
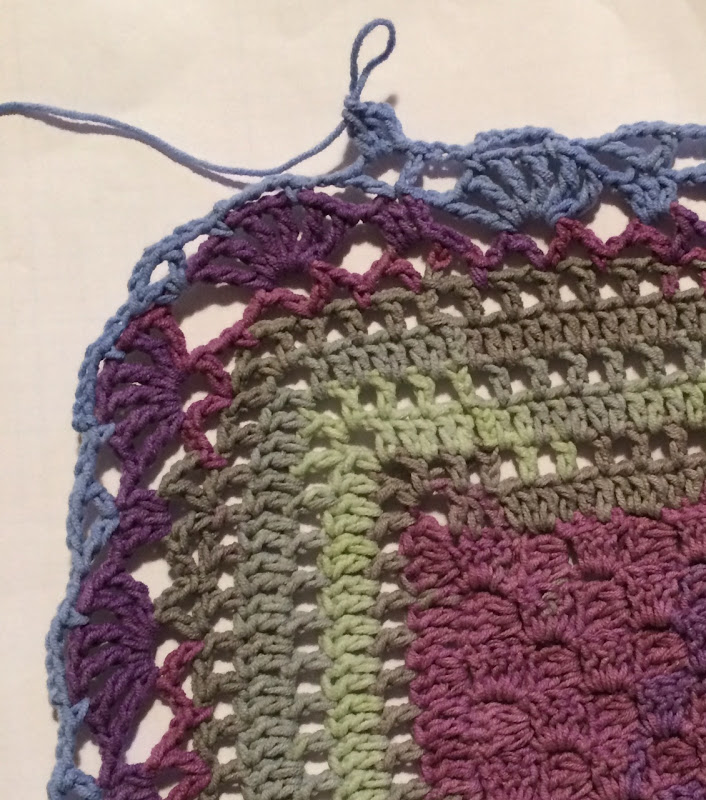
SS in the 1st DC, CH4 (counts as first DC, CH), (SK next DC, CH, DC) Repeat to next corner.[(CH, DC, CH3, DC, CH) in the CH3 SP of the corner. (DC in next DC, Skip next DC, CH, DC) around to corner] repeat around. SS in the 3rd CH of beginning CH4.
Row 5: Repeat Row 3
Row 6: Repeat Row 4
Round 6
Row 7:
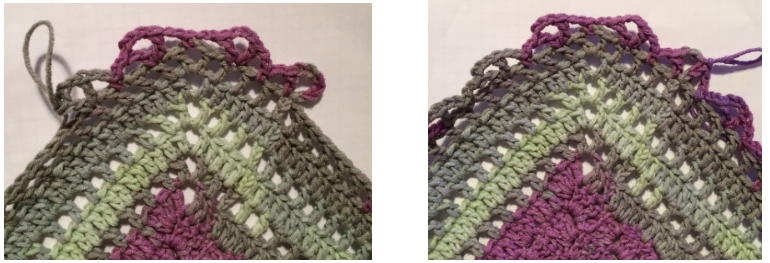
SS into CH space and in next DC, CH6 (counts as DC, CH3), DC in to the base of the CH6 – First VST made. CH2, SK CH space and SC in the next CH space, CH2, SK next CH space, VST in the next DC, CH2, SC in CH3 sp, CH2, SK next CH SP [ VST in next DC, CH2, SK next CH SP, SC in next CH SP, CH2 SK next CH SP] Repeat around. Each corner CH3 SP should have a SC. SS into 3rd CH of beginning CH6.
ROUND 7
Row 8:
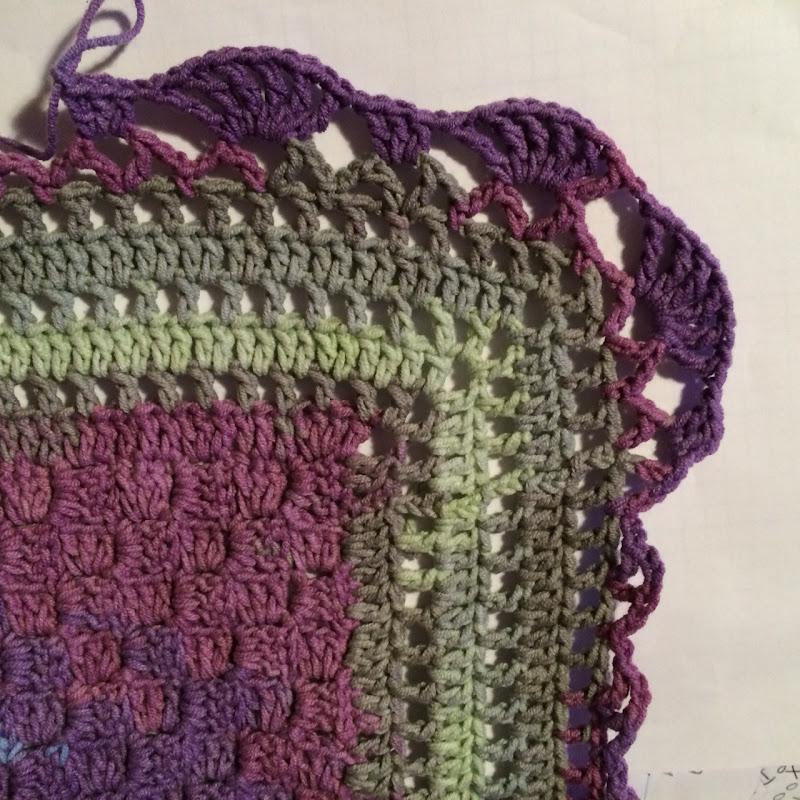
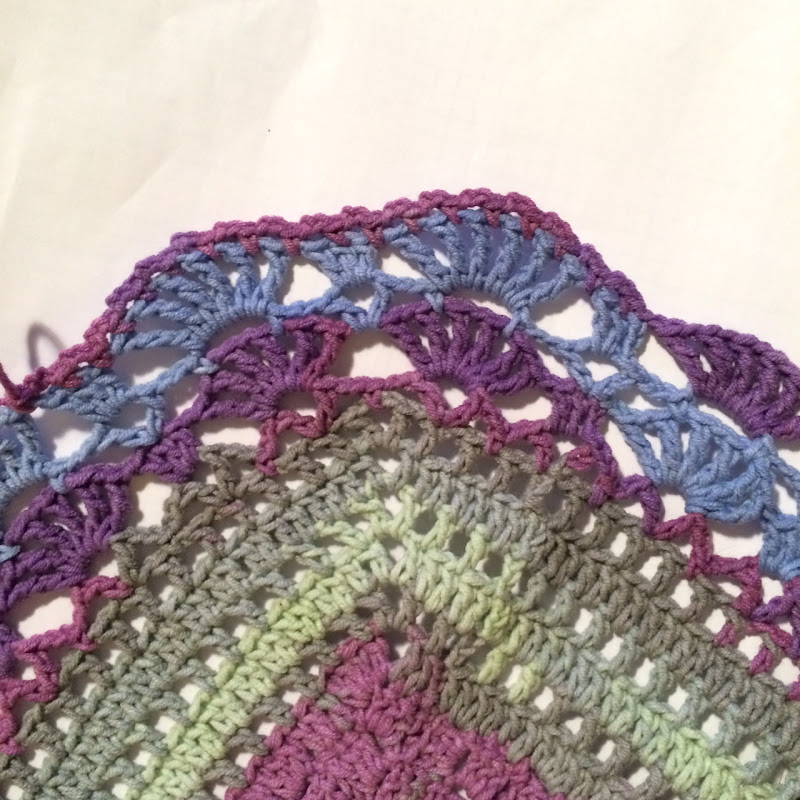
SS into CH3 of the VST, CH3 (counts as first DC), 2DC in the VST. [(CH, TRCL in next VST, CH, TRCL in next VST) corner complete. 3DC in next VST, CH, TRCL in next VST] Repeat around. SS at the top of the beginning CH3.
Row 9:
SS into next DC, CH6 (counts as DC, CH3), DC in to the base of the CH6 – First VST made. CH2 [(SC in CH SP between 2nd and 3rd TR of cluster, CH5, SC between 4th and 5th TR of cluster, CH3, VST in CH2 SP of corner, CH3, SC in CH SP between 2nd and 3rd TR of the next cluster , CH5, SC between 4th and 5th TR of same cluster, CH2)]* Corner Completed. (SK next DC, VST in the next DC, CH2, SC in CH SP between 2nd and 3rd TR of the next cluster, CH5, SC between 4th and 5th TR of the same cluster, CH2) Repeat to TCL before next corner. Repeat Corner*. Repeat around. SS in the 3rd CH of beginning CH6.
ROUND 9
Row 10:
SS into CH3 of the VST, CH3, 2DC in the CH3 of the VST, CH, TCL in next CH5 SP, (3DC in next VST, CH, TCL in CH5 SP) Repeat around. SS into the top of the beginning CH3.
Row 11:
SS in to the next DC, CH, SC in same stitch. [(CH2, SC in next CH SP) repeat 6 times, SC in middle DC] repeat around. SS into beginning SC. Fasten Off.
ROUND 11
See Another Pattern Here!
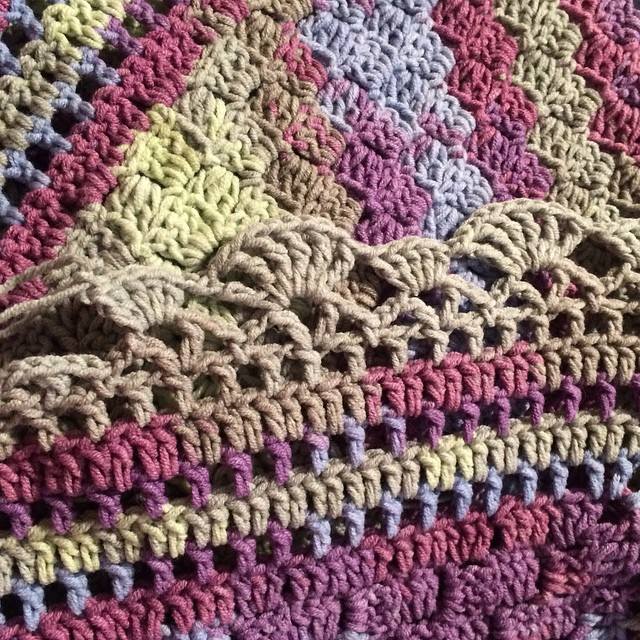
Adding a C2C edge pattern to your crochet projects is a fantastic way to achieve a professional finish and showcase your craftsmanship. Whether you opt for a simple single crochet edge or a decorative scalloped border, your projects will stand out with these refined details.
Happy crocheting, and stay tuned to My Crafts Ideas for more tips, patterns, and inspiration!
I hope you found this guide helpful! If you have any questions or want to share your finished projects, feel free to leave a comment below. Don’t forget to subscribe to My Crafts Ideas for more crochet tutorials and updates.