Round 3: Sc 2, then sc 2 in the next stitch. Repeat from * around. (16 sts)
Round 4: Sc 3, then sc 2 in the next stitch. Repeat from * around. (20 sts)
Round 5: Sc 4, then sc 2 in the next stitch. Repeat from * around. (24 sts)
Rounds 6-12: Work 1 sc in each stitch around. (24 sts)
If using a plastic egg instead of stuffing, insert it here or after the next round; otherwise, it won’t fit.
Round 13: Sc 2, then sc2tog. Repeat from * around. (18 sts)
Round 14: Sc 1, then sc2tog. Repeat from * around. (12 sts)
Round 15: sc2tog 6 times. (6 sts)
Cut the yarn, leaving a long tail. Pull through the last stitch on the hook. Using a yarn needle, sew through the front loops of each of the 6 stitches from the center outward, then pull tight to close.
Bunny Ears (Make 2)
Round 1: Start with a magic circle. Work 6 sc into the magic circle. (6 sts)
Round 2: Sc 1, then sc 2 in the next stitch. Repeat from * around. (9 sts)
Round 3: Sc 2, then sc 2 in the next stitch. Repeat from * around. (12 sts)
Rounds 4-5: Work 1 sc in each stitch around. (12 sts)
Round 6: Sc 2, sc2tog. Repeat from * around. (9 sts)
Round 7: Work 1 sc in each stitch around. (9 sts)
Round 8: Sc 1, sc2tog. Repeat from * around. (6 sts)
Rounds 9-10: Work 1 sc in each stitch around. (6 sts)
Cut the yarn, leaving a long tail. Flatten the opening and sew it together, then attach the ears to the top of the body.
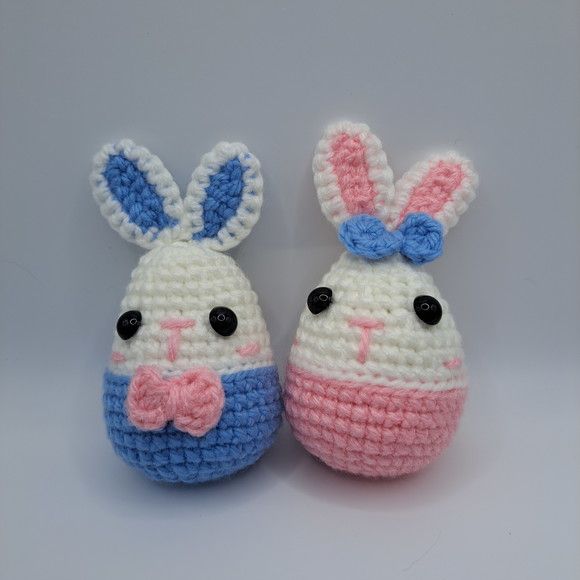
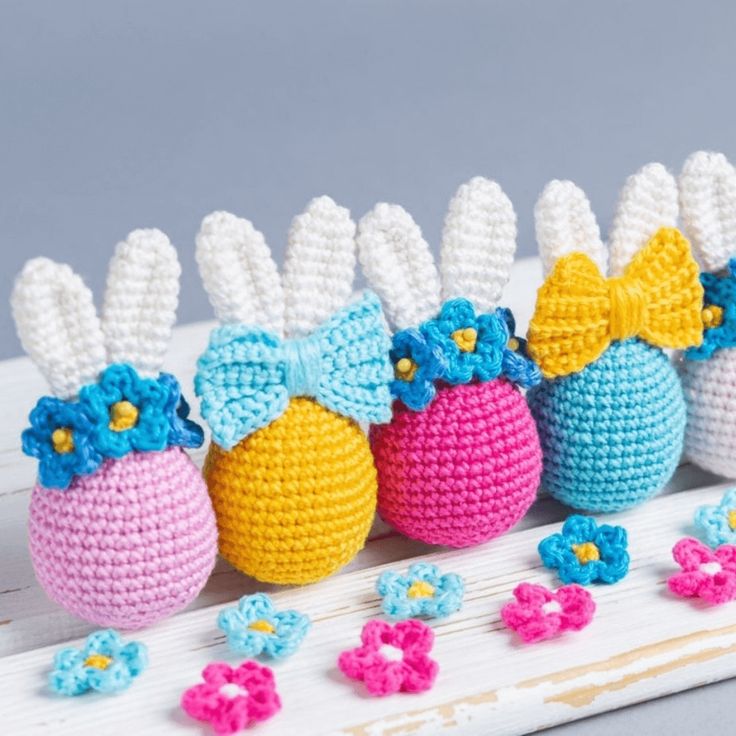
Crochet Bunny Easter Egg Pattern
Assembly and Finishing Touches
- Use hot glue to attach the felt pieces for the eyes and inner ears.
- Stitch a small pink nose using embroidery thread or pink yarn.
- Add extra details like whiskers or a small tail for added cuteness.
Your adorable Crochet Bunny Easter Egg is now ready! Create a whole set in different pastel colors to bring joy to your Easter celebrations. Happy crocheting! 🐰🥚