Crochet hook: Size appropriate for your yarn (3 mm or 3.5 mm recommended)
Small white pom pom (for hat tip)
Embroidery floss or black thread (for eyes)
Tapestry needle and scissors
Safety pin or small loop for hanging
🧶 Abbreviations (US Terms)
👇 Crochet Pattern Instructions
Face
Using light pink yarn, ch 4, sl st into first st to make a ring.
Ch 3, work 12 dc into the ring (count turning chain as 1 dc).
Join to the top of ch 3 with a sl st.
Cut yarn and secure the end.
Attach white yarn where the circle was completed.
Ch 3, make 1 dc into same st.
Then make 2 dc into each st around the pink circle.
Join, cut, and secure the end of yarn.
(26 dc total, counting turning ch as 1 dc).
Cap (Santa Hat)
With sl st on hook, join red yarn in any stitch.
Ch 3, work 1 dc into next 3 sts, then 2 dc into next 2 sts, then 1 dc into next 4 sts.
(12 dc total, counting turning ch as 1 dc.)
Ch 1, turn. Dec 1 st over next 2 sts, sc into next 8 sts, dec 1 st at end of row (in last dc and turning ch). (10 sts)
Ch 1, turn. Dec 1 st over 2 sts, sc in remaining 8 sts to end of row.
Now sc 3 sts down side of cap, bringing yarn to point where red and white yarn meet.
Ch 2, turn, sc in both sts, then sc across top of cap to last 3 sts. Sl st into each of these 3 sts. End off red yarn.
Note:
The 2 chain stitches made where the red and white yarn meet create the tab for the pom pom. This side of the hat will fold down naturally.
Beard and Trim
Row 1 – Outer Row
Attach white yarn in the first white stitch at the outside of the beard area.
Ch 3, sc in 3rd ch from hook (makes picot), sc into next st.
Repeat from * to * around the outside edge of the face.
Cut and secure yarn.
Row 2 – Middle Row
Attach white yarn near the decrease at the side of the hat (see Diagram 2 in original pattern).
Make picots as in Row 1 across each dc stitch of the white section.
Stop when you reach the other side of the face. Cut and secure yarn.
Row 3 – Inner Row
Secure white yarn under the 3rd dc from the center of the cap (in the pink circle).
Make picots on each dc until you reach the 3rd dc from the center on the opposite side.
Cut and secure yarn.
This creates Santa’s layered, fluffy beard.
Eyes and Nose
Eyes:
Use 6 strands of black embroidery floss (doubled) to make two French knots. Wrap the floss around the needle 4 times for each eye.
Nose:
Using 1 strand of red yarn, make a French knot, wrapping the yarn around the needle once.
Finishing Touches
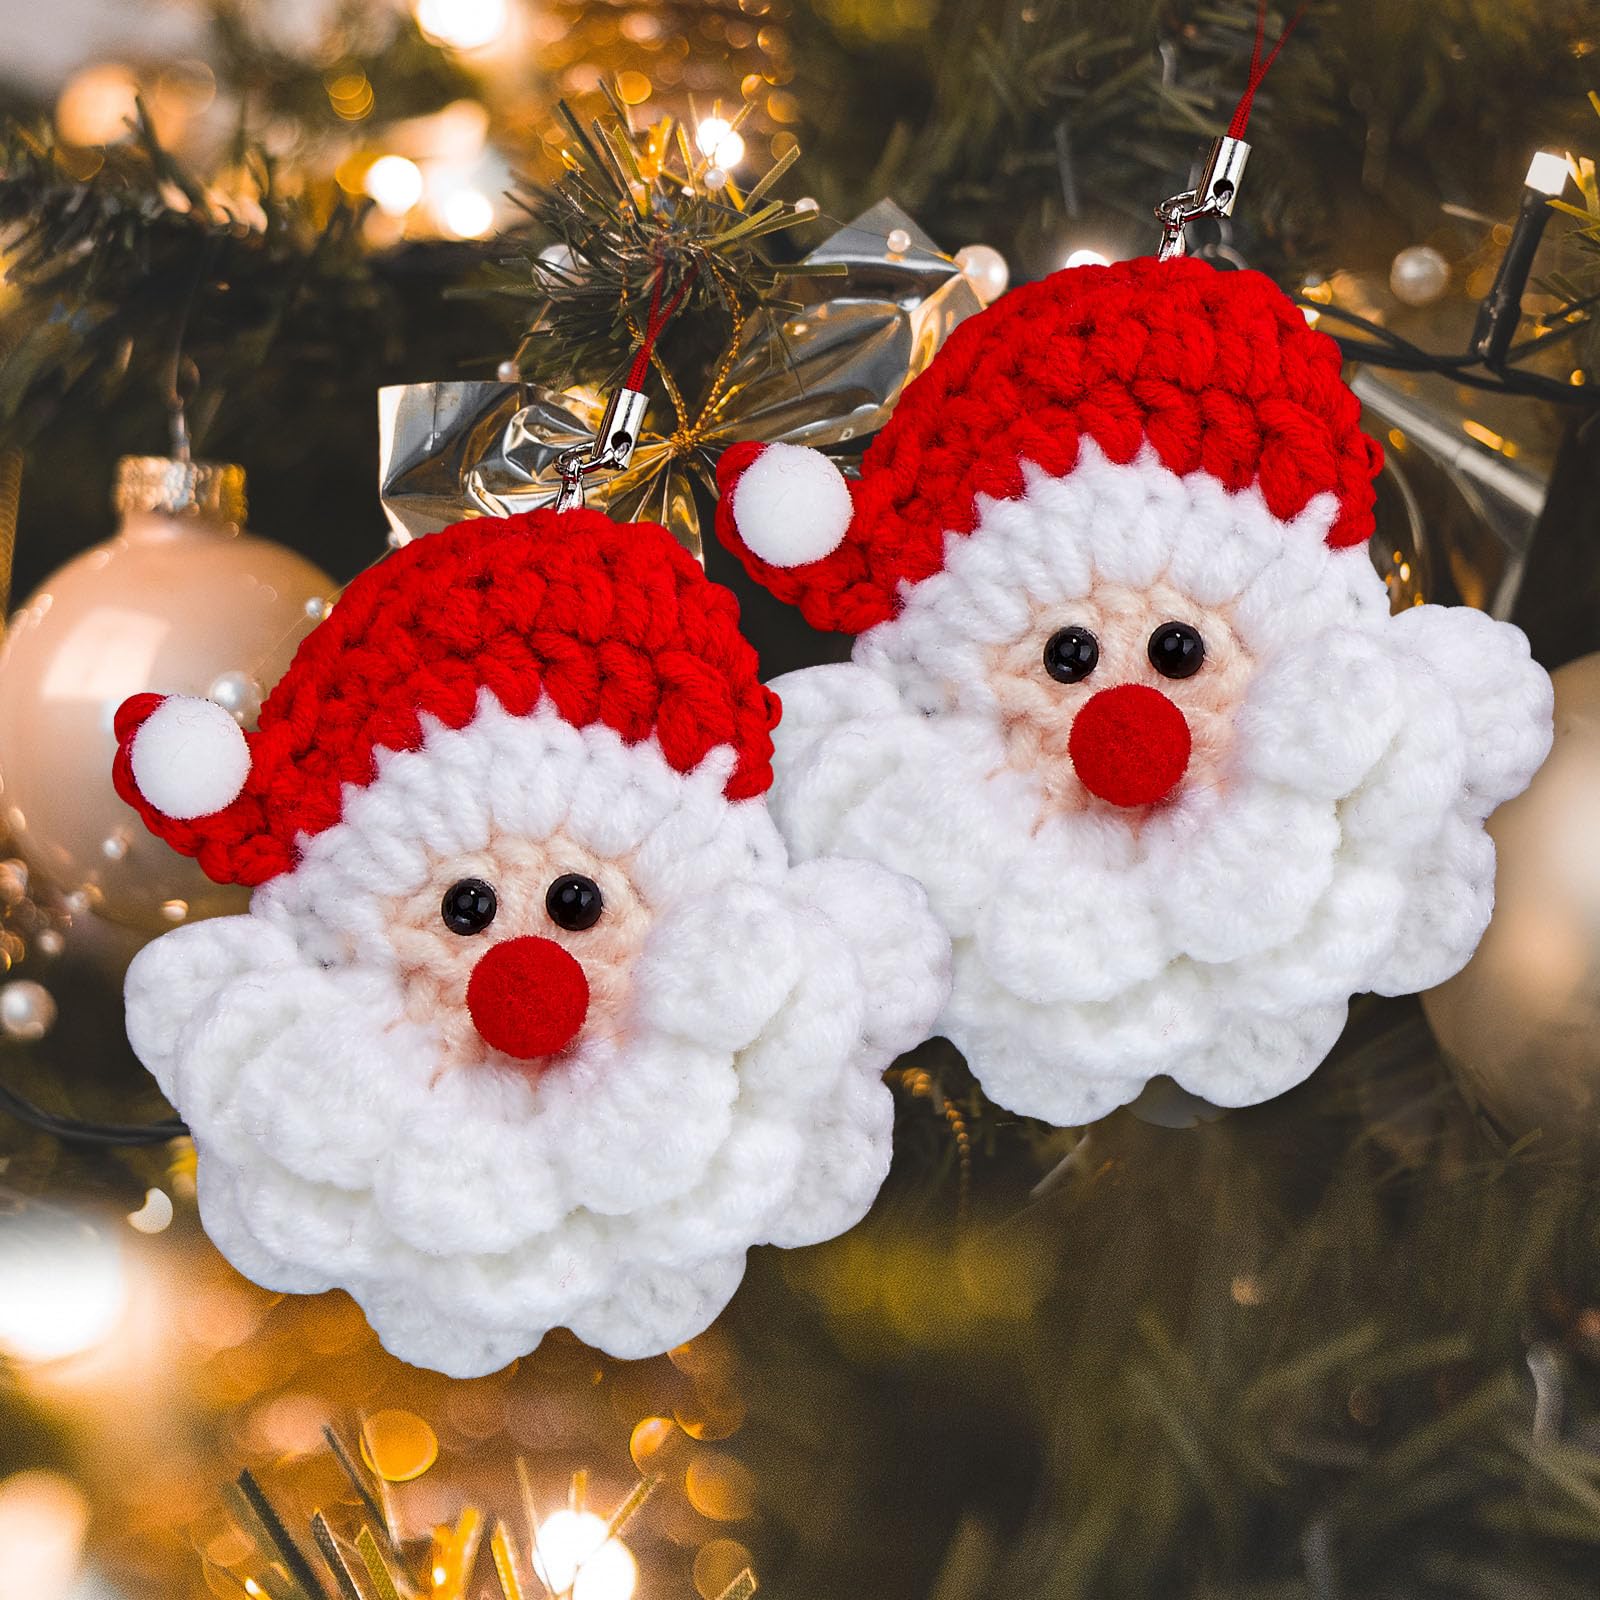
Pom Pom: Sew a small white pom pom onto the end of the hat tab.
Hanger or Pin: You can sew a safety pin to the back or crochet a small loop using red yarn to hang it on your Christmas tree.
Optionally, add a touch of blush to the cheeks using pink yarn or a dab of pastel chalk for a warm, festive look.
🎁 Usage Ideas
This cute Santa face can be used in so many creative ways:
The Crochet Santa Face pattern is a timeless and joyful project that will bring a smile to anyone who sees it. With its detailed beard, cheerful expression, and festive hat, it captures the magic of Christmas in every stitch.
Make a few for yourself and share the handmade joy with friends and family — they make wonderful keepsakes or last-minute gifts.
