Step 5: Assemble the Quilt Block
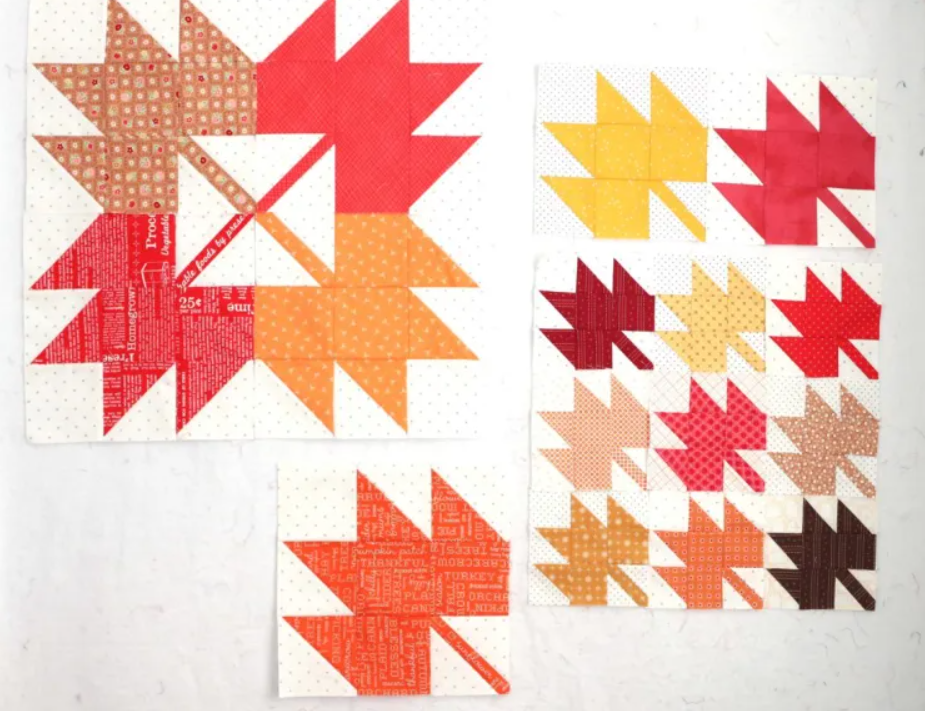
Continue sewing the pieces together until you’ve completed the entire maple leaf pattern. Take care to maintain the alignment of the individual segments to ensure the overall symmetry of the block. Press the final seams open and admire your handiwork.

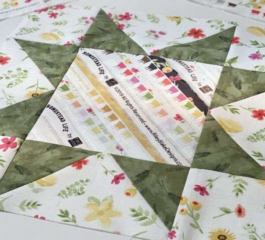
Maple Leaf Quilt Block
Step 6: Add Borders (Optional)
For an extra touch, consider adding borders to your quilt block. Choose a coordinating fabric to frame the maple leaf and enhance its visual impact. Sew the borders with the same attention to detail as the leaf segments.
Step 7: Finishing Touches
Give your completed Maple Leaf Quilt Block a final press with the iron to smooth out any wrinkles.
If you’re creating multiple blocks, you can now arrange them into a larger quilt design. Alternatively, use your finished block as a stand-alone piece, framing it or incorporating it into other creative projects.
The complete pattern is available at tarareed.com. You can access the pattern with all the details here below:
FREE TUTORIAL HERE
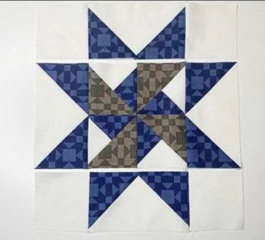
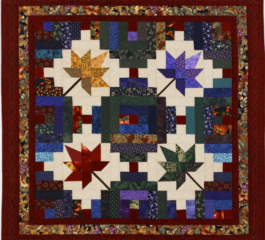
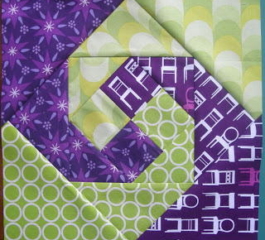
Suggested Other Patterns:
Explore our handpicked selection below and discover a world of possibilities for your next crafting adventure. Visit the links to find more perfect pattern ideas that suit your style and project requirements:
The My Crafts Ideas team would like to thank everyone for following us and we wish you all lots of love and affection. We found it in the next pattern, see you later!