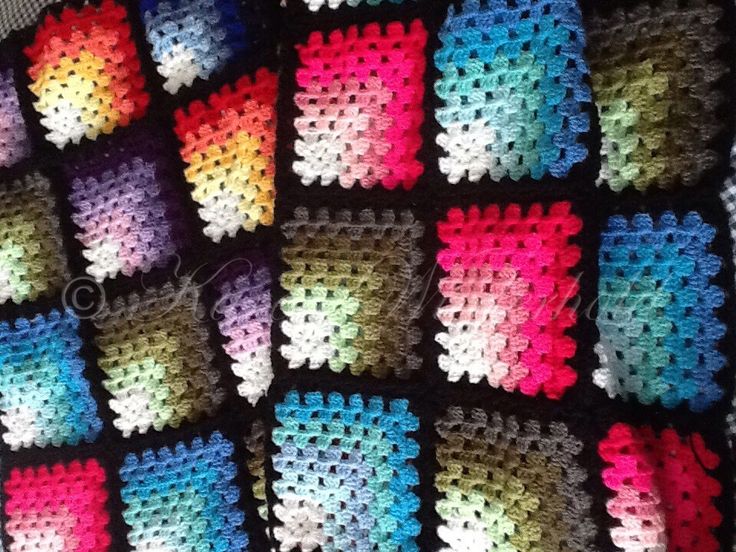
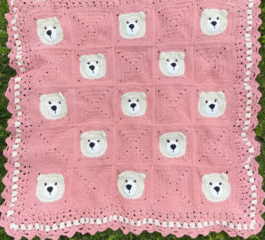
Welcome back to My Crafts Ideas! Today, I’m excited to share with you a detailed guide to making a beautiful Mitred Granny Square Blanket. This project is perfect for those who love the classic granny square but want to add a unique twist. Whether you’re a seasoned crocheter or a beginner, this guide will help you create a stunning blanket for a single bed (160cm x 128cm) using shades of your favorite color.
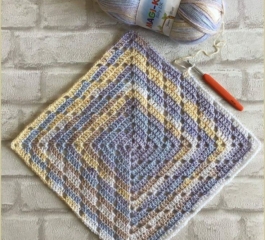
My completed square measures 16cm. However, your squares may differ slightly in size due to your personal working tension. This variation can also affect the total number of squares you need for the blanket.
Materials You’ll Need
To create a blanket of approximately 80 squares, you’ll need the following materials:
Crochet Hook: 3.5mm
Yarn: Stylecraft Special Double Knit 100g in your choice of colors:
Color A (white): 1 ball
Color B (light shade): 2 balls
Color C (medium shade): 3 balls
Color D (dark shade): 3 balls
Color E (darkest shade): 4 balls
Color F (black): 4-5 balls
Mitred Granny Square Blanket
If you wish to use several different colors (e.g., blue, pink, green, and yellow), you’ll need the same number of balls for Colors A and F, but only 1-2 balls for each of the associated shades (B-E).
Alternatively, using Aran or Chunky yarn can give you bigger squares, but you’ll need to adjust your hook size and the amount of yarn accordingly.
UK Crochet Terms
Ch: Chain
SS: Slip Stitch
Tr: Treble
DC: Double Crochet
Instructions
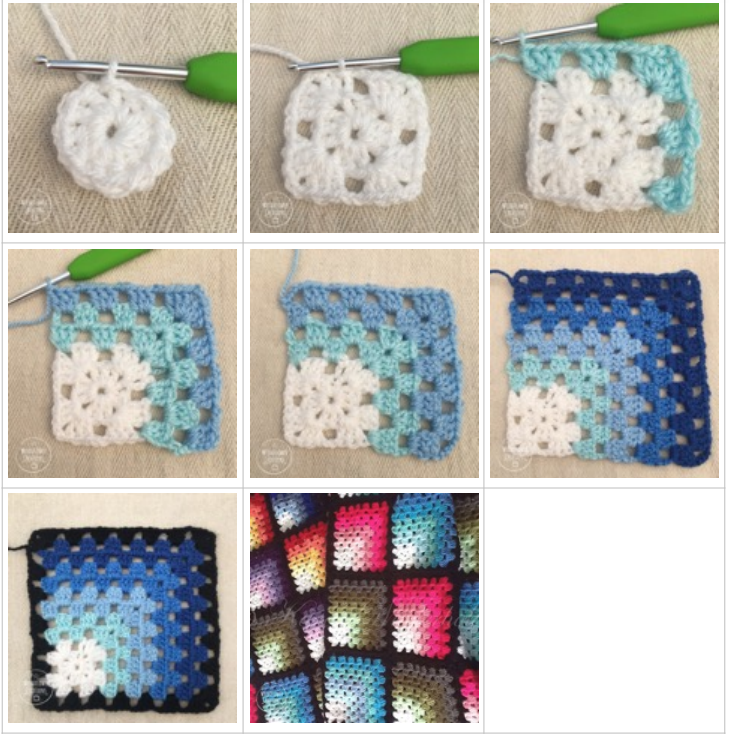
To Make a Square
Round 1: Using your first color of yarn, Ch5 and join with SS to form a ring. Round 2: Ch3 (acts as first Tr), Tr11, SS into the space between the first and second Tr to join.
Round 3: Ch3 (acts as first Tr), Tr2, Ch2, Tr3 into the same space. Ch2, skip 3 Tr, Tr3, Ch2, Tr3 into the next space. Repeat from * to * twice more.Ch2, SS into the space between the first and second Tr to join. Tie off yarn.
Row 4: Join the next color of yarn into the corner space. Nh3 (acts as Tr), R2 in the same space. Ch2, Tr3 into the center space, Ch2, Tr3, Ch2, Tr3 into the corner space. Ch2, Tr3 into the center space, Ch2, Tr3 into the corner space.
Row 5: Ch4, turn the piece over so you are working back along the row just created. Tr3 into the space, Ch2, Tr3 into the next space, Ch2, Tr3, Ch2, Tr3 into the corner space. Ch2, Tr3 into the next space, Ch2, Tr3 into the next space, Ch4, join with DC into the top of the last Tr. Tie off yarn. Turn the piece so that the right side is forward-facing once more.
Row 6: Join the next color of yarn into the first space (created by the Ch4 at the end of row 5). Nh3 (acts as Tr), R2 in the same space. Ch2, Tr3 into the next space, repeat from * to * once more into the following space. Nh2, R3, Nh2, R3 into the corner space. Ch2, Tr3 into the next space, repeat from * to * once more into the following space. Nh2, R3 into the corner space.
Row 7: Ch4, turn the piece over so you are working back along the row just created. Tr3 into the first space, Ch2, Tr3 into the next space, repeat from * to * once more. Nh2, R3, Nh2, R3 into the corner space. Ch2, Tr3 into the space, repeat from * to * twice more. Ch4, join with DC into the top of the last Tr. Tie off yarn. Turn the piece so that the right side is forward-facing once more.
Rows 8 to 11: Repeat in the style of rows 6 and 7. Use four colors in addition to the white center (Color A) and black (Color F) for the final round.
Round 12: Join yarn into the corner space. Ch3 (acts as first Tr), Tr2, Ch2, Tr3 into the same space. Ch2, Tr3 into the space, repeat four times more. Nh2, R3, Nh2, R3 into the corner space. Repeat from * to * twice more. Ch2, Tr3 into the space, repeat four times more. Ch2, SS into the space between the first and second Tr to join. Tie off yarn.
For subsequent squares, complete them up to Round 11 and join them to the previous squares using the join-as-you-go method during Round 12. (There are many helpful videos on YouTube showing how to do the join-as-you-go method).
Continue this process row by row, joining squares to the previous row.
Alternatively, you can complete each square, including Round 12, and then join them all together later. Choose the method that works best for you.
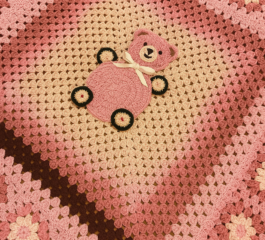
Different effects and patterns can be achieved by placing the squares in various layouts and using different color combinations.
Video Tutorial:
I hope you enjoy making your Mitred Granny Square Blanket as much as I did. This project offers a wonderful opportunity to play with colors and create a unique piece that’s sure to become a cherished part of your home. Happy crocheting!