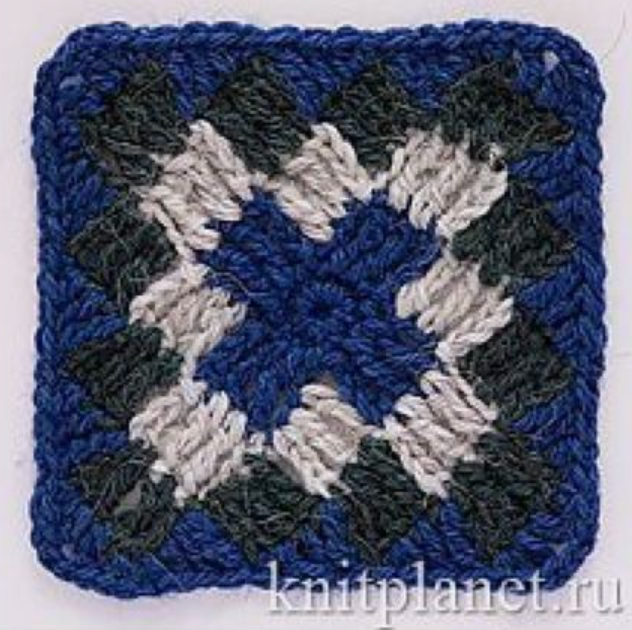
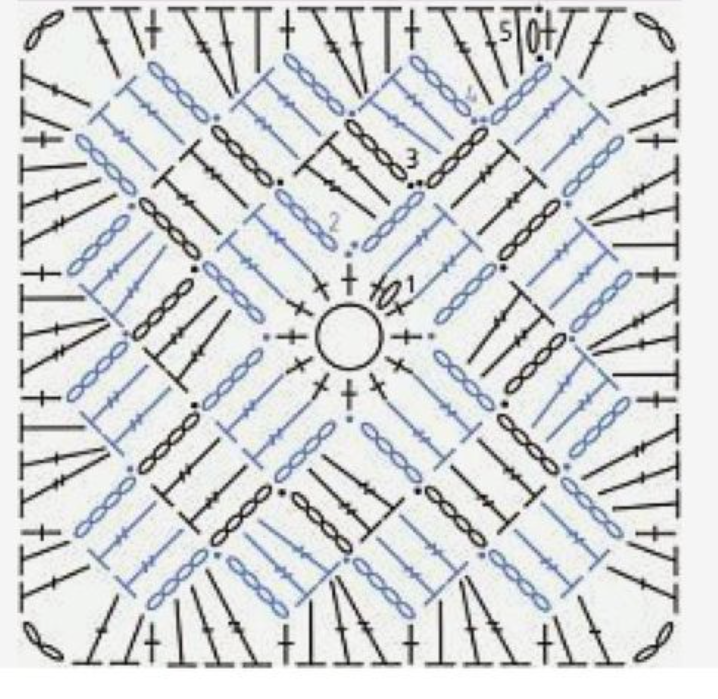
Hello, crochet lovers! Today, I’m thrilled to share a tutorial for a wonderful crochet square. This versatile design is easy to follow and can be used in a variety of projects, from cozy blankets to stylish scarves. The square starts with a classic magic ring and builds up with simple stitch repetitions that create a beautiful layered effect. Let’s dive right in and get started!
Materials Needed
Yarn: Choose two colors to add a pop of contrast.
Hook: Use a hook size that matches your yarn for the best result.
Scissors and Tapestry Needle for finishing.
Abbreviations Used
ch: Chain
sc: Single Crochet
trdc: Treble Double Crochet
sl st: Slip Stitch

Step-by-Step Instructions
1. Start with a Magic Ring
The magic ring is an excellent foundation for this square, creating a tight, neat center.
Make a Magic Ring – Hold your yarn and create a small loop, leaving a tail. Insert your hook through the loop, pull up a loop, and secure it with a chain.
2. First Row
In this row, we’ll work single crochets (sc) around the ring.
Chain 1 (1 ch).
Work 12 single crochets (12 sc) into the magic ring.
Pull the tail to close the ring tightly, and finish with a slip stitch into the first single crochet to close the round.
3. Second Row
For this row, we add height and shape with chains and treble double crochets (trdc).
Chain 4 (4 ch) – this chain counts as the first treble.
Work 2 treble double crochets (2 trdc) in the same stitch.
Chain 4 (4 ch).
Slip stitch into the next stitch.
Repeat this pattern all around, forming four distinct clusters of treble stitches separated by chains.
After you finish this row, you should see the start of a lovely petal-like structure forming.
4. Change Color
This is where the design really starts to pop! Select a contrasting color for the next rows to highlight the layered effect.
5. Third Row
This row will mirror the second row, but with more clusters and slip stitches to expand the square.
Attach your new color with a slip stitch.
Chain 4 (4 ch).
Work 2 treble double crochets (2 trdc) in the same stitch.
Chain 4 (4 ch).
Slip stitch into the next space.
Chain 4 (4 ch).
Work 2 treble double crochets (2 trdc) in the next space.
Slip stitch in the next stitch to join.
Repeat this pattern for the entire row, working around the square. This repetition will add an intricate border and shape to your square.
6. Repeat the Third Row for Additional Rounds
To make the square larger, simply repeat the instructions for the third row, continuing to add rows in the new color (or switch colors as desired). Each row will build on the previous structure, creating a beautiful layered effect.

Final Tips
Changing Colors: To make the color transitions smooth, always complete the last stitch of the row with the new color.
Blocking: Consider blocking your square after completing it. This will help set the shape and give it a polished look.
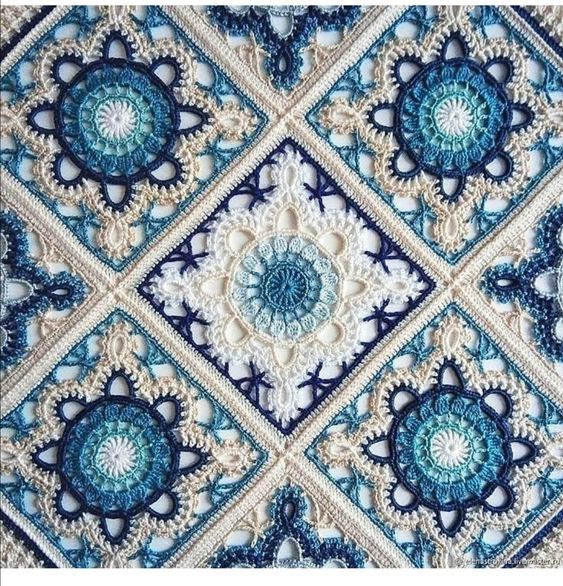
With this Wonderful Crochet Square pattern, the possibilities are endless! Enjoy the creative process, and feel free to experiment with different color combinations. Happy crocheting!


