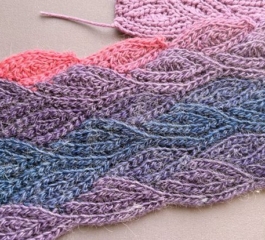
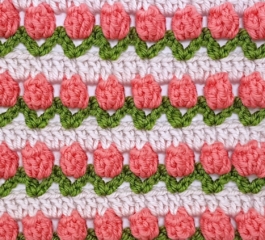
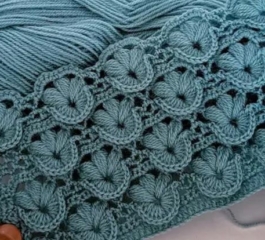
Bamboo Leaf Stitch Free Pattern

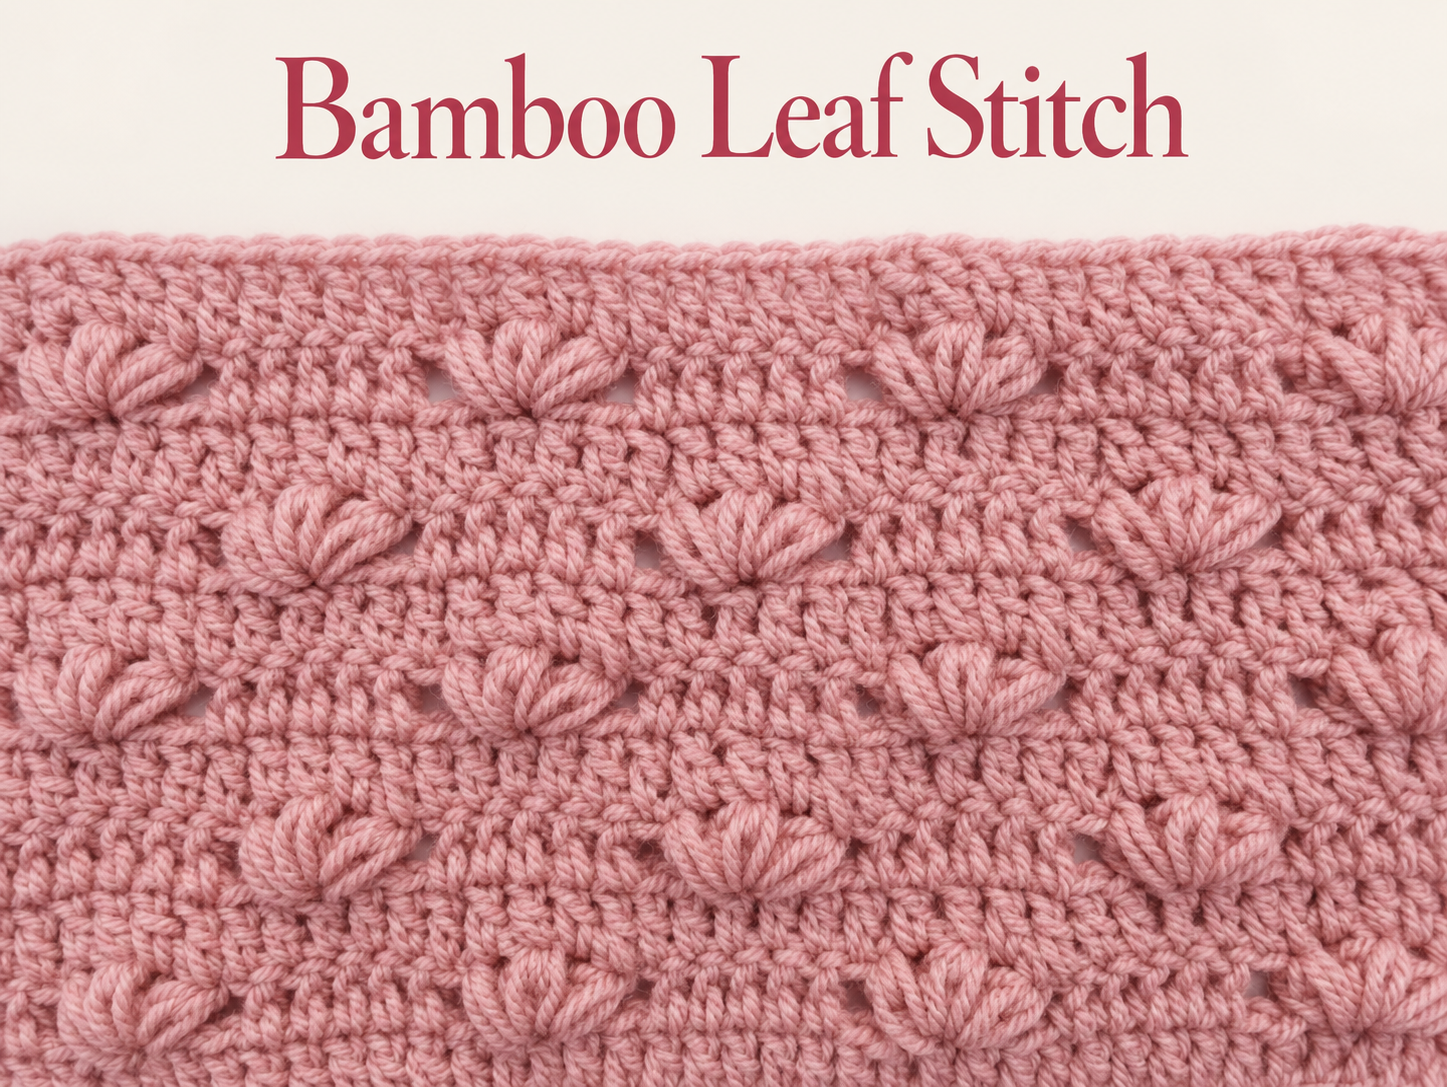
Soft pink yarn brings out the delicate leaf shapes in this textured crochet fabric. The raised details catch the light, while the quieter areas between them give each motif room to stand out. If you enjoy stitches with a botanical feel, this is a lovely technique to explore through a small practice swatch.

Start with a smooth, light-colored yarn so you can see where your hook enters each stitch. Work slowly through the first few rows, checking your edges as you go. Once your sample is even, you can use its measurements to plan a larger project.

Choosing a color for your Bamboo Leaf Stitch project can completely change its character. Blush pink creates a gentle, romantic look, while dusty rose gives the fabric a warmer feel. A solid shade lets the raised leaves stand out clearly, making it a useful choice when you want the stitch itself to be the main feature. Before committing to a color, look at your sample in natural daylight to see how the shadows define its texture.

Bamboo Leaf Stitch Free Pattern

Choosing a color for your Bamboo Leaf Stitch project can completely change its character. Blush pink creates a gentle, romantic look, while dusty rose gives the fabric a warmer feel. A solid shade lets the raised leaves stand out clearly, making it a useful choice when you want the stitch itself to be the main feature. Before committing to a color, look at your sample in natural daylight to see how the shadows define its texture.

This tutorial follows the first reference photograph. The separately supplied 14 + 1 chart is a different version and should not be used alongside these instructions.

  • Suggested experience: Confident beginner familiar with double crochet and reading repeats.
  • Finished size: A practice swatch; actual measurements depend on your yarn, hook, and tension.
  • Validation note: The row counts have been checked mathematically; this written version has not been physically swatched. Make a sample before starting a full-size project.

Materials

  • Smooth yarn in a pale or dusty pink shade.
  • A crochet hook suited to the yarn label and your tension.
  • Scissors and a tapestry needle.
  • Two stitch markers and a measuring tape.

Avoid very fluffy yarn for your first attempt, because it can hide the insertion points. Keep enough yarn available for a generous sample before estimating the amount needed for a finished project.

Abbreviations — US Terminology

Abbreviation Meaning
ch Chain
dc Double crochet
st Stitch
sk Skip
YO Yarn over
L Leaf unit, defined below

Stitch Instructions and Row Sequence

Chain 44, or 10n + 4, with n ≥ 2.

Puff: Repeat (YO, insert hook, draw up a loop) three times into one stitch. YO through all seven loops; ch1 to close.

L: Sk2; work (puff, ch2, puff, ch2, puff) into the next stitch; sk2. Closing chains are additional to ch2.

Row 1: Dc from the fifth chain onward. Count the four skipped chains as one edge stitch. Turn.

Row 2: Ch3, dc2, L; repeat (dc5, L) until three stitches remain; dc3. Turn.

Row 3: Ch3; dc across, placing one dc in each puff, each ch2 space, and each remaining dc. Ignore puff-closing chains. Turn.

Row 4: Ch3, dc7, L; repeat (dc5, L) until eight stitches remain; dc8. Turn.

Row 5: As Row 3.

Repeat Rows 2–5. Every ch3 replaces the first dc: skip its underlying stitch. Finish each row in the previous turning-chain top.

How to Read the Instructions

“Dc5” means make one double crochet in each of the next five stitches, not five stitches in one location. Parentheses identify a group of actions. Repeat that entire group only while the stated number of edge stitches remains available.

Mark the top of your turning chain at the beginning of each row. When you return to that edge, the marker helps you recognize the last insertion point. Move the marker upward as the fabric grows.

Count Check for the 44-Chain Sample

Rows Expected count
1, 3, 5 41 stitches, including turning chain
2 4 leaves
4 3 leaves

Count before continuing. If your total changes, check both edges and the stitches surrounding each raised motif.

Tips for a Neat Sample

Keep the loops in each puff at a consistent height. Pulling some loops much tighter than others makes the raised details uneven and can make the closing step difficult. Let the yarn slide comfortably rather than forcing it through the loops.

Pause after a few rows and lay the sample on a flat surface. A slight curl can relax after washing, but pronounced narrowing or widening usually means that stitches have been missed or added. Correct the count before continuing.

When the sample is complete, fasten off and weave in the ends. Wash and dry it according to the yarn label, gently shaping it without stretching the raised texture flat.
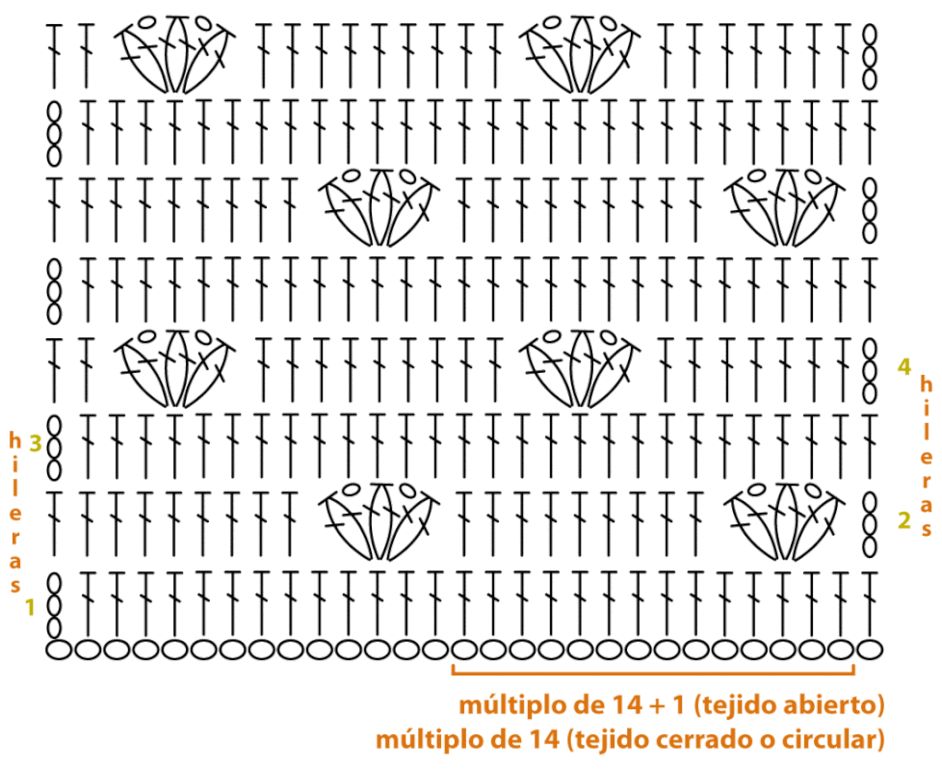
Diagram

Measure the washed sample before choosing your finished dimensions. Divide its width by the number of horizontal repeats to estimate the width added by another repeat. Edge stitches affect the final measurement, so treat this as a planning estimate and check the actual foundation width as you work.

A kitchen scale can help with yarn estimates: weigh your sample, compare its area with your planned project, and allow extra for finishing and any border. Do not rely on a fixed yardage without checking your own yarn and tension.

The Bamboo Leaf Stitch gives a simple pink fabric a distinctive, tactile finish. A carefully counted sample is the best starting point: it helps you establish even tension, understand the leaf placement, and plan a project that suits your yarn.
You might also be interested

Turquoise Shell & Puff Crochet Stitch

Turquoise Shell & Puff Crochet Stitch

The Turquoise Shell & Puff Crochet Stitch combines fan-shaped shells with raised puff stitches...

Leaf Crochet Stitch Pattern

Leaf Crochet Stitch Pattern

The Leaf Crochet Stitch Pattern is one of those designs that instantly catches the eye. With its...

Tulip Stitch Crochet Pattern

Tulip Stitch Crochet Pattern

Crochet is a craft filled with beauty, and among the many stitches you can explore, the Tulip Stitch...

Crochet Rectangular Shawl Tutorial

Crochet Rectangular Shawl Tutorial

Welcome to today’s crochet tutorial!In this project, we’ll be making a rectangular shawl or scarf...

You Are Here:

We use cookies to offer you the best experience on our website. By continuing to browse, you confirm that you accept these terms.