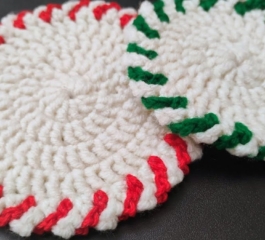
- Round 1: Ch 3, work 11 dc in the ring; join. 12 dc.
- Round 2: Ch 3, 1 dc in the same first st; 2 dc in each of the remaining 11 sts; join. 24 dc.
- Round 3: Ch 3 (first dc), 2 dc in next st; repeat 1 dc in next st, 2 dc in next st 11 more times; join. 36 dc.
- Round 4: Ch 3, 1 dc in next st, 2 dc in next st; repeat 1 dc in each of the next 2 sts, 2 dc in next st 11 more times; join. 48 dc.
- Round 5: Ch 3, 1 dc in each of the next 2 sts, 2 dc in next st; repeat 1 dc in each of the next 3 sts, 2 dc in next st 11 more times; join. 60 dc.
- Round 6: Ch 3, 1 dc in each of the next 3 sts, 2 dc in next st; repeat 1 dc in each of the next 4 sts, 2 dc in next st 11 more times; join and fasten off. 72 dc.
Count check: Each round adds 12 dc. If the last round cups or waves strongly, check that the initial ch 3 was counted once and each join was kept out of the stitch count.
2. Crochet the head
With cream, make a second magic ring and repeat Body Rounds 1–5. Fasten off with 60 dc after Round 5. Put the join at the bottom center of the face.
Number the 60 dc in Round 5 from the starting ch 3 as st 1, counting from the bottom toward the right side when looking at the front. Mark sts 19–25 for the right ear and sts 36–42 for the left ear. Each group has seven stitches.
Ears – make two directly on the head
Join cream to the first stitch of a marked seven-stitch group.
- Row 1: Sc in each of the 7 marked sts; ch 1, turn. 7 sc.
- Row 2: Sc2tog over the first 2 sts, sc in the next 3, sc2tog over the last 2; ch 1, turn. 5 sc.
- Row 3: Sc2tog, sc in the center st, sc2tog; ch 1, turn. 3 sc.
- Row 4: Sc3tog over all 3 sts; fasten off. 1 st at the tip.
Repeat on the other marked group. With peach yarn, embroider a small inner triangle inside each ear using short satin stitches. Keep the tips cream.
Neaten the head outline
Join cream at Round 5, st 1. Sc once in each exposed Round 5 dc. At an ear, skip its seven covered foundation dc and instead work 1 sc in each of four row ends going up the first side, 3 sc into its tip stitch, and 1 sc in each of four row ends down the other side. Do the same at the second ear. Join to the first outline sc and fasten off. 68 sc: 60 base dc – 14 hidden beneath the ears + 22 around the ear sides and tips. Do not count the joining sl st as a sc.
3. Add the curved cream tail
With cream, ch 37. Work in rows; leave a long tail for sewing.
- Row 1: Sc in the second ch from the hook, hdc in the next 3 ch, dc in the next 28 ch, hdc in the next 3 ch, sc in the final ch; turn. 36 sts.
- Row 2: Ch 1, sl st in the first st, sc in the next 3 sts, hdc in the next 28 sts, sc in the next 3 sts, sl st in the last st. Fasten off. 36 sts.
Pin the strip into a gentle crescent along the right and lower edge of the body, with one tapered end near the lower left. Sew along its long edges, allowing a slight raised ridge. Do not pull so tightly that the body curls.
4. Work the airy cream lace frame
Foundation: Ch 104 in cream and join with a sl st into the first ch, taking care not to twist the chain ring. Each of the 13 repeats below occupies 8 foundation chains.
- Frame Round 1: Sc in the first foundation ch, ch 7, sk the next 7 foundation ch; repeat sc in the next foundation ch, ch 7, sk the next 7 foundation ch 12 more times. Join to the first sc. 13 sc anchors and 13 ch-7 arches.
- Frame Round 2: Sl st into the first ch-7 sp, sc in that same sp, ch 9. Repeat sc in the next ch-7 sp, ch 9 12 more times; join to the first sc. 13 sc anchors and 13 ch-9 arches.
- Frame Round 3: Sl st into the first ch-9 sp, sc in that same sp, ch 11. Repeat sc in the next ch-9 sp, ch 11 12 more times; join to the first sc and fasten off. 13 sc anchors and 13 ch-11 arches.
The resulting three rows of chain arches form a soft lace ring. On a flat table, its inner opening should be wide enough to support the assembled cat. Gently spread the arches before making the border.
5. Crochet the 13 dark-blue scallops
Join dark blue in any sc anchor of Frame Round 3.
- Blue Round 1: Ch 1 (not a stitch), sc in the same anchor, work 11 dc into the following ch-11 sp. Repeat sc in the next sc anchor, 11 dc in the following ch-11 sp 12 more times; join to the first sc. 13 sc + 143 dc = 156 sts; 13 shells.
- Blue Round 2: Ch 1 (not a stitch), sc in the same first sc and in each remaining stitch around; join and fasten off. 156 sc.
Shape each group of eleven dc into one rounded lobe. The blue sc round follows the tops and valleys without adding stitches. For a smoother outline, block the finished frame with 13 pins, one at each shell peak.
6. Make the six-petal berry flower
Make a magic ring with berry-pink yarn.
- Center: Work 6 sc in the ring; pull snug and join to the first sc. 6 sc.
- Petal 1: In that first sc, ch 3, work 5 dc in the same sc, ch 3, then sl st back into the same sc.
- Petals 2–6: Sl st in the next unused center sc, then ch 3, 5 dc into that same sc, ch 3, sl st into the same sc. Repeat for all five remaining center stitches. Fasten off with a sewing tail. Six petals, each with 5 dc and two ch-3 sides.
Pull the center ring closed, arrange the petals in a circle, and pin the flower lightly into shape. For the short stem visible below the flower in the photograph, ch 10–12 in berry yarn and sew this chain beneath the bloom. Adjust its length to your assembled piece.
7. Embroider and assemble
- Face: With black thread, embroider two curved closed eyes across the middle of the head. Add two or three fine whiskers on each cheek. Make a small burgundy triangular nose near the center and stitch a short stem with two tiny upward mouth curves beneath it. Secure all ends on the WS.
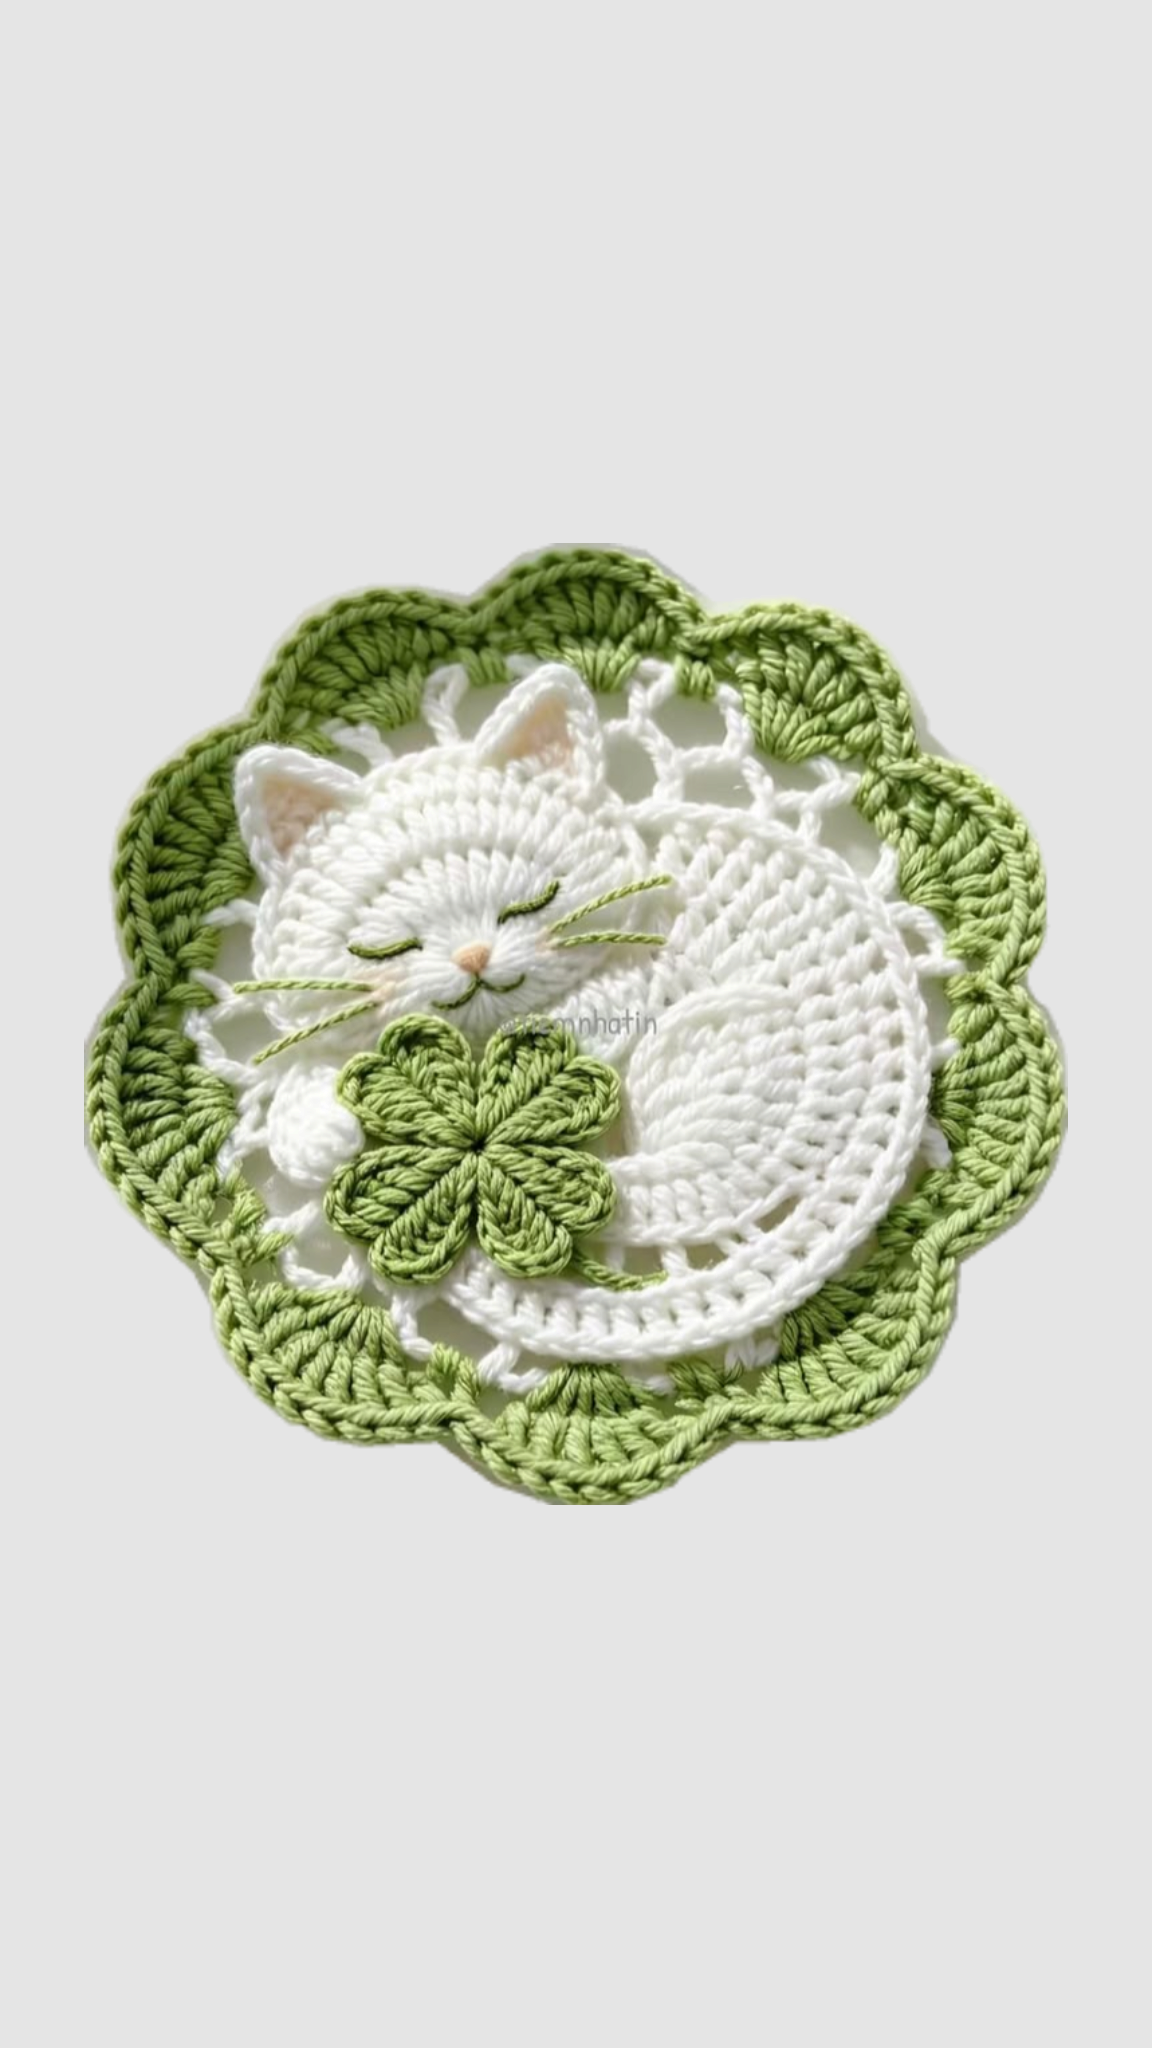
- Place the body: Lay the blue-edged lace frame RS up. Center the body a little right of the frame’s center so that the blue scallops remain visible all around. Sew the body to the inner cream foundation ring and nearby arches at 6–8 spaced points, without stretching the frame.
- Place the head: Overlap the head over the upper-left part of the body, leaving the body’s rounded right side visible. Sew along the head’s lower and side edges; leave the ears free and upright.
- Add the tail: Sew the curved strip along the lower and right body edge, over the join where needed, with its narrow end pointing toward the lower left.
- Add the flower: Sew the flower at the lower-left chest area, partly over the tail, securing the center and a few petal bases while keeping the petals dimensional. Tuck the small berry stem beneath it.
- Finish: Weave in tails. Dampen lightly and pin the 13 blue shell peaks evenly. Let the piece dry completely before removing pins.
This is intended as a decorative mat or applique. A dimensional flower and raised tail make it unsuitable as a stable surface under a cup.
Construction and count summary
| Component |
Finished count |
Role |
| Body |
72 dc at Round 6 |
Right-side curled body |
| Head |
60 dc at Round 5 |
Sleeping face |
| Ear rows (each) |
7, 5, 3, 1 sc |
Two pointed ears |
| Head outline |
68 sc |
Smooth perimeter around ears |
| Tail |
36 sts in each of 2 rows |
Lower curved raised strip |
| Frame |
13 arches in each of 3 rounds |
Open white lace |
| Navy border |
13 shells x 11 dc |
Scalloped edge |
| Flower |
6 petals x 5 dc |
Raised blossom |
A note for blog readers
The accompanying construction map shows how the separately made pieces are layered. It is a layout guide for this reconstruction, not an exact copy of the supplied crochet-symbol chart. If you use different yarn, pin the cat pieces over the frame before sewing and adjust their positions visually. The stitch counts have been checked on paper, but this version still needs a physical sample test.
Take your time with assembly. Spread the lace frame on a flat surface, space the scallops evenly, and pin the body, head, tail, and flower before making permanent stitches. Sew through the backs of the pieces with matching yarn, keeping the chain arches relaxed. A few small attachment points will hold the cat in place without pulling the openwork out of shape.
Sleeping Cat and Flower Doily Crochet Pattern PDF
This piece is best displayed as a decorative mat, wall accent, or applique. Its raised flower and tail are part of the design, so it will not provide a level surface for a cup. The written pattern is a reconstruction based on the supplied images; make a sample to check the proportions and placement with your chosen yarn. A printable PDF can be offered at the end of the post for readers who want to keep the instructions nearby.