The source does not provide an exact yarn weight, hook size, yardage, gauge, or finished measurement. Choose your yarn and hook together, and check that the fabric is firm enough to contain the stuffing. Using different yarn weights for the main pieces can change their proportions, so consistency is helpful.
Skills Used in This Pattern
The English PDF uses US crochet terminology. You will work chains, single crochet, increases, decreases, slip stitches, and stitches through the front or back loops only.
This project is best suited to crocheters who are comfortable following rounds and sewing amigurumi pieces together. The individual stitches are straightforward, but joining the legs, working the mitten cuffs, and reviewing the source’s count inconsistencies require attention. It is not presented as a fully tested beginner pattern.
Before starting, read the editorial notes included in the PDF. Proposed count corrections are clearly marked so you can distinguish them from the translated instructions.
Tips for a Neat Finish
Count before changing sections
Check your stitch total after every increase or decrease round. Finding a missed increase immediately is much easier than discovering it after several plain rounds. Pay particular attention to the leg join and the hat’s shaping rounds.
Add stuffing gradually
Small additions of stuffing are easier to distribute than one large handful. Shape each piece as you work and compare matching parts before closing or attaching them. Avoid packing the fabric so tightly that the stuffing shows between stitches.
Plan the face before sewing
The translated instructions place the eyes between head rounds 15 and 16, with a six-stitch gap. Check the position before securing them. Pin the nose in place and plan the mouth and eyebrows around it. Small changes in the angle of the eyebrows or the curve of the smile can noticeably change the expression.
Check the silhouette during assembly
Temporarily position the head, arms, and boots before sewing. Look at the snowman from the front and side, checking that the face points forward and that the accessories sit where you want them. Take your time with this stage: placement makes a substantial difference to the finished character.
Ideas for Displaying Your Snowman
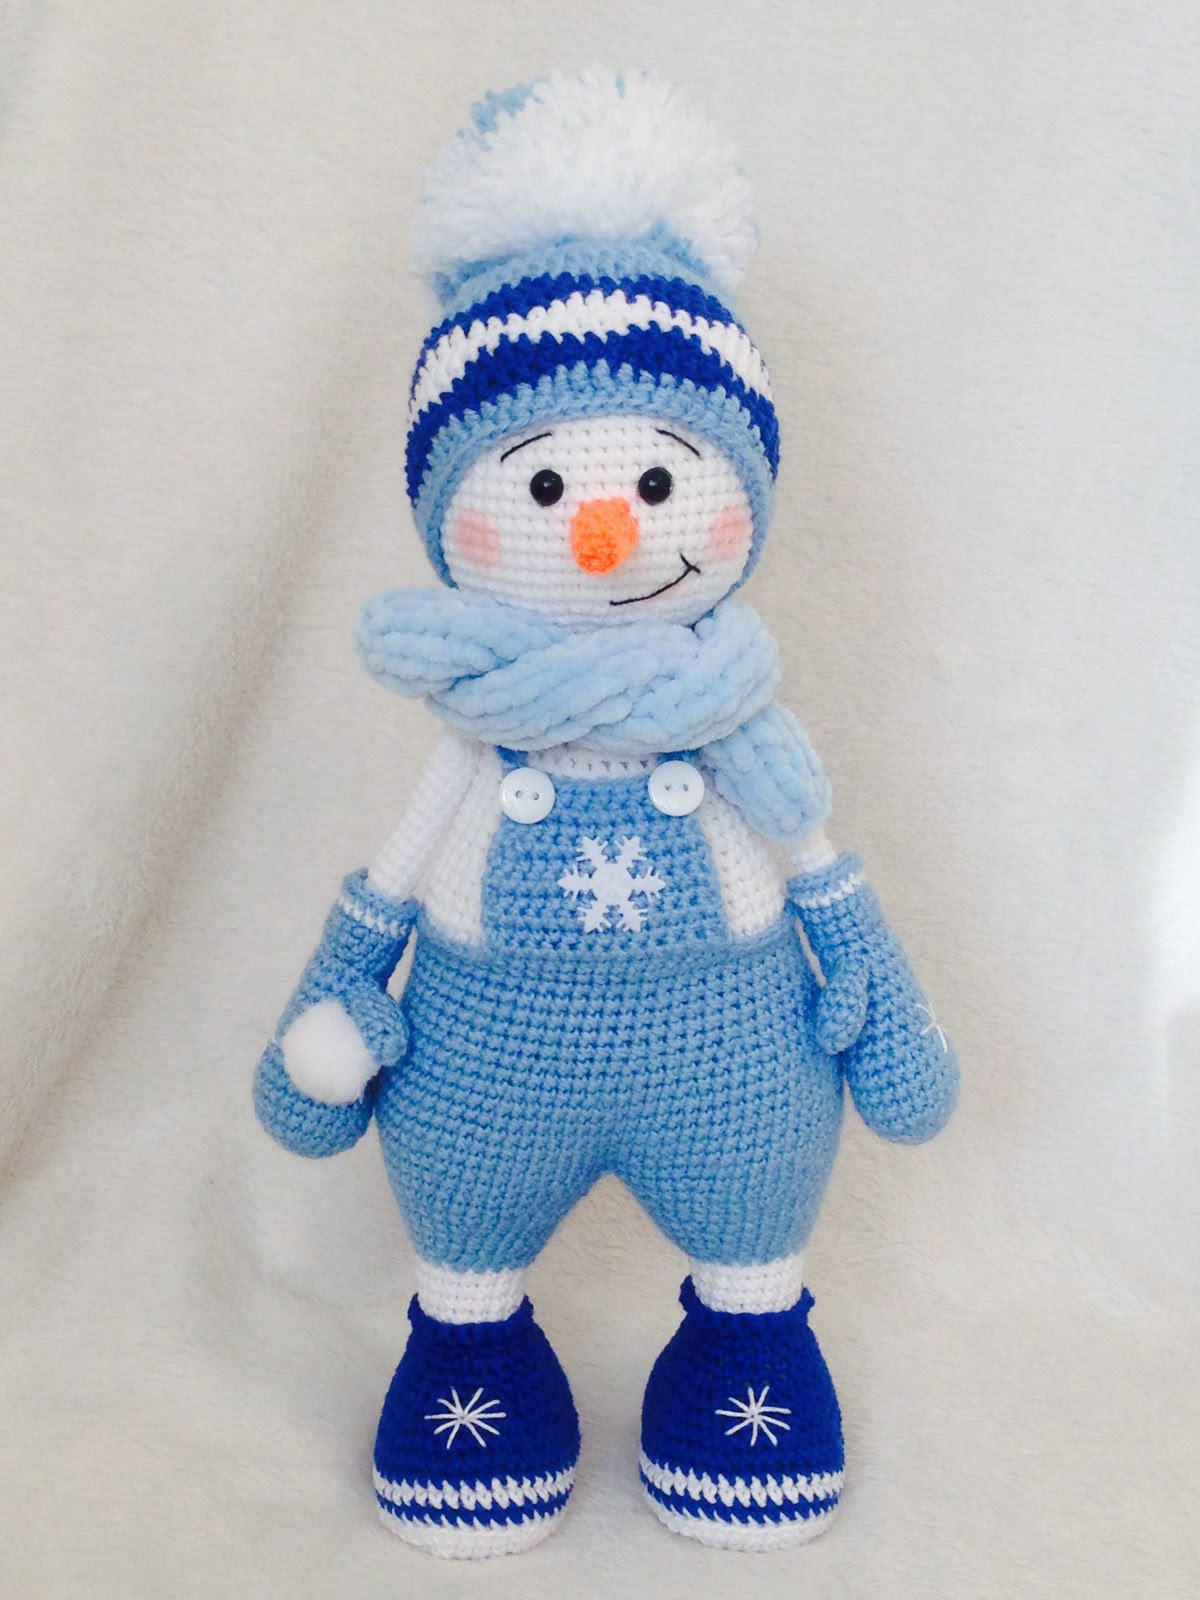
Place the finished snowman on a shelf beside a small winter arrangement, add it to a seasonal craft display, or use it as a handmade accent in your crochet corner. A classic red-and-green version pairs naturally with Christmas decorations, while blue shades can remain part of your decor through the winter months.
If you share your version online, mention the source designer and describe any changes you made. A clear photograph of your finished piece also helps other crocheters understand how your yarn and color choices affected the result.
Download the English Snowman Crochet Pattern PDF
The printable PDF includes the translated instructions for the body, head, boots, arms, mittens, thumbs, nose, belt, long pointed hat, and cane. It also includes US crochet abbreviations, source credits, and clearly marked editorial notes about inconsistent stitch counts.
Download the English Snowman Crochet Pattern PDF using the link below.
Snowman Crochet Pattern with English PDF
Please read the notes before beginning. The proposed corrections have been checked mathematically but have not been crochet-tested, and the blue featured photograph is color inspiration rather than an exact preview of the included recipe.
This snowman crochet pattern offers plenty of room for personality, from the colors of the stripes to the expression on the face. With careful counting, thoughtful assembly, and a little patience with the finishing details, it can become a cheerful addition to your handmade winter collection.