Here are a few combinations to explore:
| Style |
Blades |
Background |
Center |
| Cottage floral |
Rose, blush, and sage prints |
Warm white |
Deep rose |
| Classic contrast |
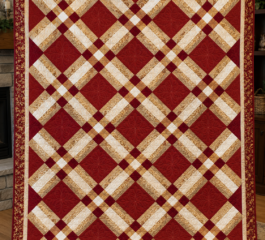
Red and white prints |
Soft cream |
Burgundy |
| Blue garden |
Navy, sky blue, and floral prints |
White |
Navy |
| Autumn palette |
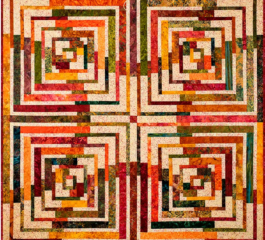
Rust, mustard, olive, and brown |
Natural cream |
Dark brown |
Lay out one complete plate before sewing. Take a photograph to help you remember the arrangement as you move the pieces to your machine.
Preparing Your Template
Use the blade length and center-circle measurements supplied with your selected template. The ruler angle alone does not establish the finished diameter: the blade length and its position on the ruler also matter.
If using a printable template, follow its printing instructions and check the scale before cutting fabric. Keep the same template and cutting reference throughout the project.
Choose a background square that leaves room around the plate for the intended design and the block’s outer seam allowances.
How to Make a Dresden Plate Quilt Block
1. Cut the Blades
Following your template’s cutting dimensions, prepare fabric strips and cut 20 matching wedges for each plate.
Keep the template aligned consistently as you cut. If you rotate it to save fabric, check how that changes the direction of flowers, lettering, or other directional motifs.
Separate the pieces into sets of 20. For example, a quilt with 12 of these blocks needs 240 blades.
2. Form the Pointed Tips
Fold one blade lengthwise with the right sides facing each other. Align the two halves of the wider end.
Sew across that wide end with a ¼-inch seam. Trim a little bulk near the folded corner without cutting the stitching.
Turn the sewn tip right side out. Gently shape the point with a blunt tool, then position the seam at the center of the blade’s back and press.
3. Arrange and Join the Blades
Return the prepared blades to your planned circular arrangement.
Place two neighboring blades right sides together and align their long edges, paying particular attention to the finished outer ends. Stitch with a consistent ¼-inch seam, then continue joining the remaining blades in order.
Join the last blade to the first to close the ring. Press the seams carefully without stretching the fabric.
Lay the plate on a flat surface before attaching it to the background. If it cups or ripples, check the cutting and seam consistency while the seams are still accessible.
4. Center the Plate on the Background
Lightly crease the background square vertically and horizontally to mark its center. Position the Dresden ring with its opening centered over the intersection.
Check the spacing on all four sides and make sure the outer points remain clear of the block’s future seam lines.
Pin or lightly glue-baste the plate in place, keeping both layers smooth.
5. Prepare the Center Circle
Choose a finished circle size that covers the opening and overlaps all the blades’ inner raw edges.
For a turned-edge circle, make a cardstock template at the finished diameter. Cut the fabric circle with an additional ¼-inch allowance all the way around.
Sew small gathering stitches within that allowance, place the template against the fabric’s wrong side, and draw the allowance around it. Press the edge into shape and remove the template.
Position the prepared circle over the plate’s center.
Planning Your Quilt Layout
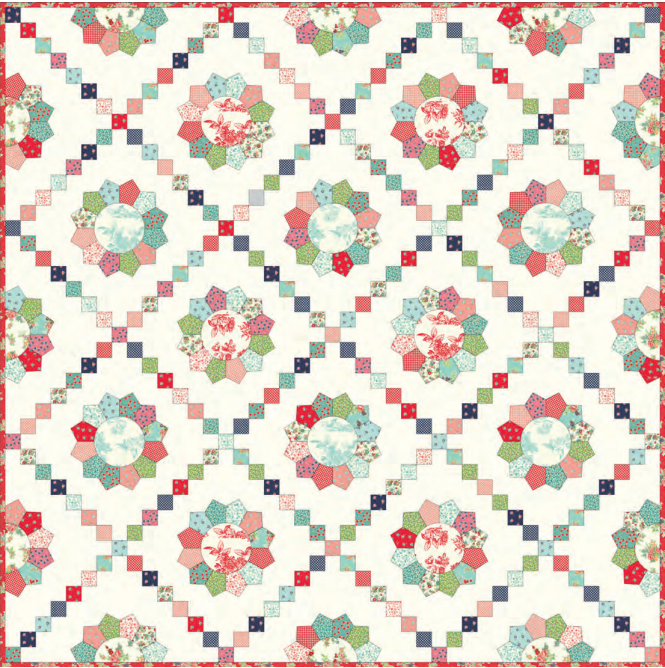
A single Dresden Plate can become a cushion front, a wall hanging, or the centerpiece of a small quilt. Repeated blocks create a larger project with a strong circular rhythm.
Sashing gives each plate its own frame. Cornerstones can repeat the center-circle color, while alternating plain blocks leave space for additional quilting.
For planning purposes, these examples assume blocks that finish at 16 inches square, joined directly without sashing or borders:
| Arrangement |
Number of blocks |
Quilt-top size |
| 3 blocks by 3 blocks |
9 |
48 × 48 inches |
| 3 blocks by 4 blocks |
12 |
48 × 64 inches |
| 4 blocks by 5 blocks |
20 |
64 × 80 inches |
These are layout calculations. Use your selected template for the blade cutting dimensions. Borders and sashing will increase the size, and quilting can slightly reduce the final measurements.
Quilting and Finishing
Once the blocks are assembled, press the quilt top and prepare the backing, batting, and top for basting.
Consider echo quilting around the plates to emphasize their outlines. Gentle curves in the background can soften the layout, while straight lines can create a more structured frame.
Include enough quilting across the entire surface to meet the batting manufacturer’s spacing requirements. After quilting, square the edges and add a binding that complements the blades or center circles.
Helpful Tips
- Prepare one complete block before cutting all the fabric.
- Count and organize the blades for each plate.
- Check that the ring lies flat before appliquéing it.
- Press the points into shape without stretching them.
- Keep the center circle large enough to cover every inner raw edge.
- Measure completed blocks before joining the quilt top.
The Dresden Plate Quilt Pattern offers plenty of room for personal choices, from the fabric arrangement to the center circles and quilting. Each plate can feature a different selection of prints, while a repeated background or accent color brings the whole quilt together.
Dresden Plate Quilt Pattern
Start with one block, enjoy arranging its colors, and build your project at a comfortable pace. Whether you choose cottage florals, bold contrasts, or treasured scraps, the finished quilt will reflect the fabrics you love.
Which colors would you choose for your Dresden Plate quilt? Share your ideas in the comments!